
Whatnot Packaging: Organize Multiple Purchases Before You Brand the Parcel
Separate sorting from shipment decisions. Match every item group to its confirmed shipment and label before adding the finishing touches.
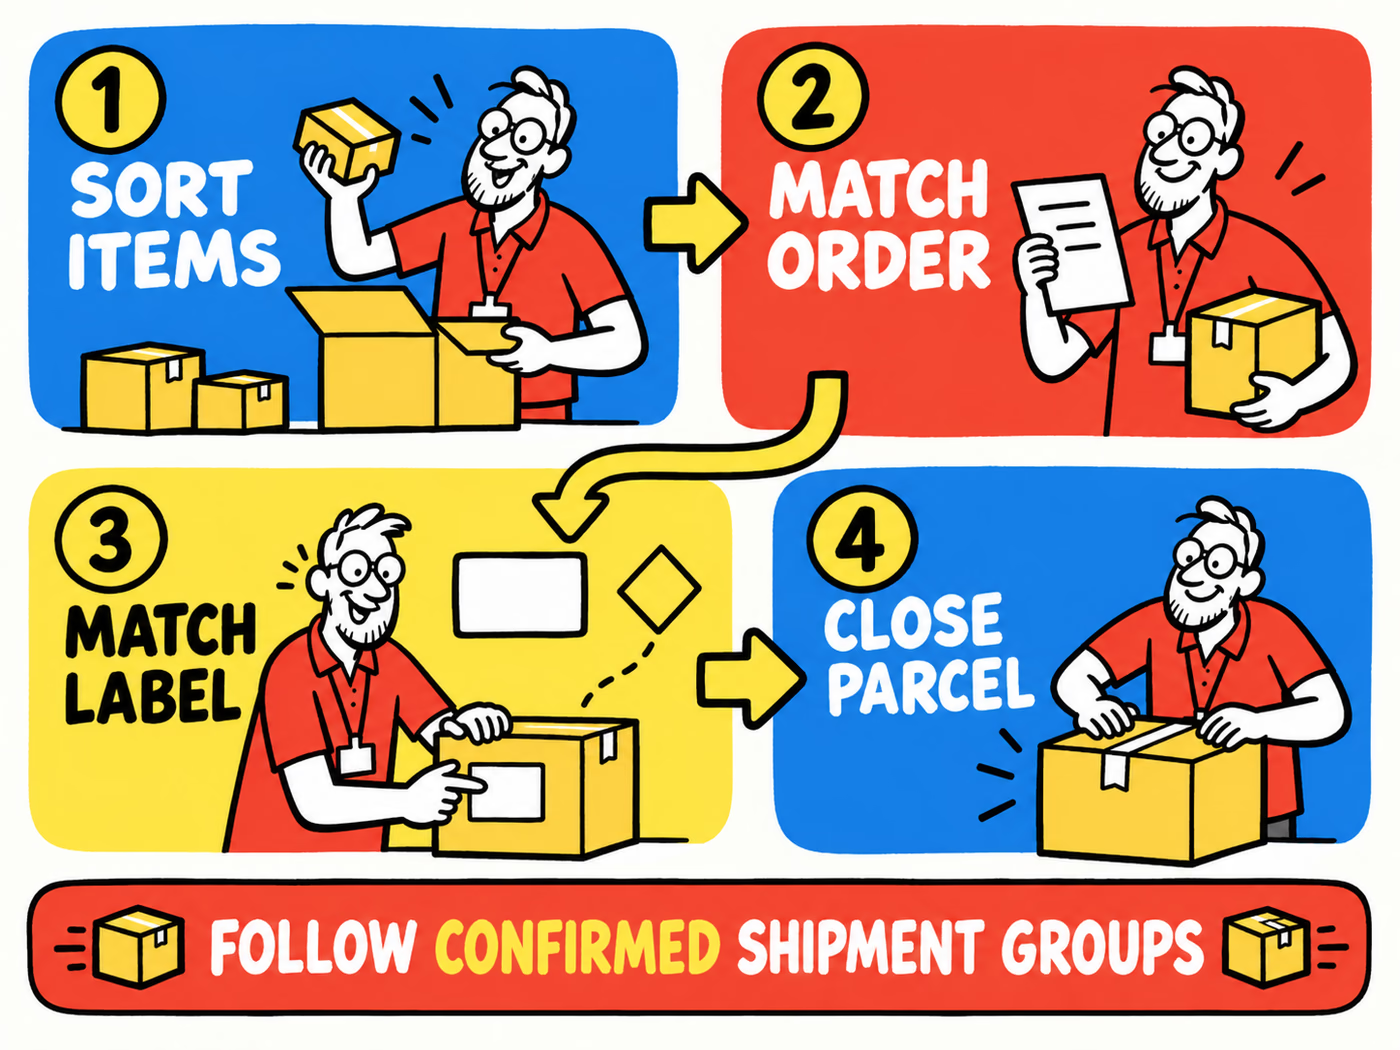
Good Whatnot packaging starts with the confirmed shipment group, not the first box within reach. Sort purchases so you can identify each item, review the actual grouping in Seller Hub, and match the packed contents to the correct shipping label. Then choose protection and branding for that complete arrangement. A sorting card does not decide which purchases can ship together.
After a busy sale, similar-looking items can end up on the same table. A clear handoff from sorting to packing helps the person closing the parcel know exactly what belongs inside.

Review the current shipment and bundling guidance
Start with Whatnot’s official bundling and unbundling guidance. The page reviewed on October 6, 2026 says manual bundling is limited to purchases from the same buyer and must happen before shipping labels are generated. It describes separate conditions for unbundling after a label is generated, before the original shipment is marked In Transit or Shipped.
The practical packing point is straightforward: physical parcels should match the shipment groups shown in Seller Hub. Do not assume that every purchase during a sale belongs in one parcel, or merge parcels merely because their contents fit in a larger box.
Confirm the record before choosing the pack
Review the live shipment record and any needed adjustment before finalizing the arrangement. If an item cannot travel with the others, follow the current platform process for the actual shipment. Consult the linked instructions for the full workflow rather than treating this illustration as a platform tutorial.
Keep product needs in the decision too. A group may contain a soft garment and a rigid accessory that require separate support. The shipping record and physical arrangement must both be understood before the exterior is designed.
Separate order sorting from final packaging
Use a temporary sorting reference to keep items together while they await review. Our example uses A, B and C so the principle is visible without displaying buyer information. In your operation, tie each temporary reference to the authorized internal order record and keep that connection available to the packing team.
| Stage | Record to compare | Question before moving on |
|---|---|---|
| Sorting | Item identifiers and quantities | Is every item in the correct temporary group? |
| Shipment review | Confirmed platform shipment group | Does this group match the shipment being prepared? |
| Packing | Complete protected arrangement | Does the selected pack accommodate these actual contents? |
| Label check | Final parcel and assigned label | Does this label belong to this exact parcel? |
Work on one final parcel at a time
Bring the confirmed items and their packing sheet to a clear work area. Compare product versions and quantities before wrapping, then check again before closing. Move the finished parcel away from loose items so the next group cannot borrow a card or label from it.
Temporary sorting containers are not necessarily shipping packaging. Measure the actual protected arrangement with the mailer-box measurement guide. Include accessories and any insert before recording the required usable space.
Choose branding that works across order sizes
Use one recognizable identity across the range, while letting the contents determine each pack. A small card and a restrained original mark can adapt to different boxes more easily than artwork designed around one fixed order count.
Keep the internal sorting reference separate from the customer-facing card. A buyer needs the right purchase and useful help information; a large internal A or B is not a brand message. Retire the temporary reference according to your workflow once the contents-to-label check is complete.
Reserve the operational areas
Plan where the closing material and real shipping information will sit before adding decoration. A printed label used for your identity has a different job from a carrier label. Neither appearance nor adhesive color establishes suitability for a particular pack.
The flexible seller-parcel example shows how a common identity can work across different outer references. Keep the message concise and leave shipping information readable.
Create a packing verification checklist
Give the packer a short sequence they can repeat: identify the confirmed shipment, compare the item versions and quantities, review the protective arrangement, check the label against the parcel, and close using the specified method. Assign responsibility for resolving mismatches instead of allowing a guess to become the next step.
Keep the checklist beside a photograph of the approved arrangement. Record the packaging reference and instruction version so a replacement box or changed product does not silently inherit an old packing method.
Request the actual range
Explore shipping boxes, custom labels and insert cards with quantities by reference. Use the artwork guide for each confirmed construction. Send complete dimensions, intended handling and artwork versions rather than a screenshot of the fictional station.