
Boba Cup Sizes: Plan Capacity, Toppings, and Closures Together
Build a cup range around the boba drinks you actually serve. Record liquid, toppings, ice, working fill, and the exact closure before buying by size.
Choose boba cup sizes from the complete drink you serve: liquid, pearls or other toppings, ice, and the room needed by the closure. The nominal capacity is a reference for the proposed cup, not a promise about the amount of liquid in a finished order. Build your size range from representative menu preparations, then confirm the exact cup, lid or sealing setup, and straw together.
A “regular” milk tea and a “regular” fruit tea can ask different things of the same cup. A useful size plan starts at the preparation counter, where those differences become visible.
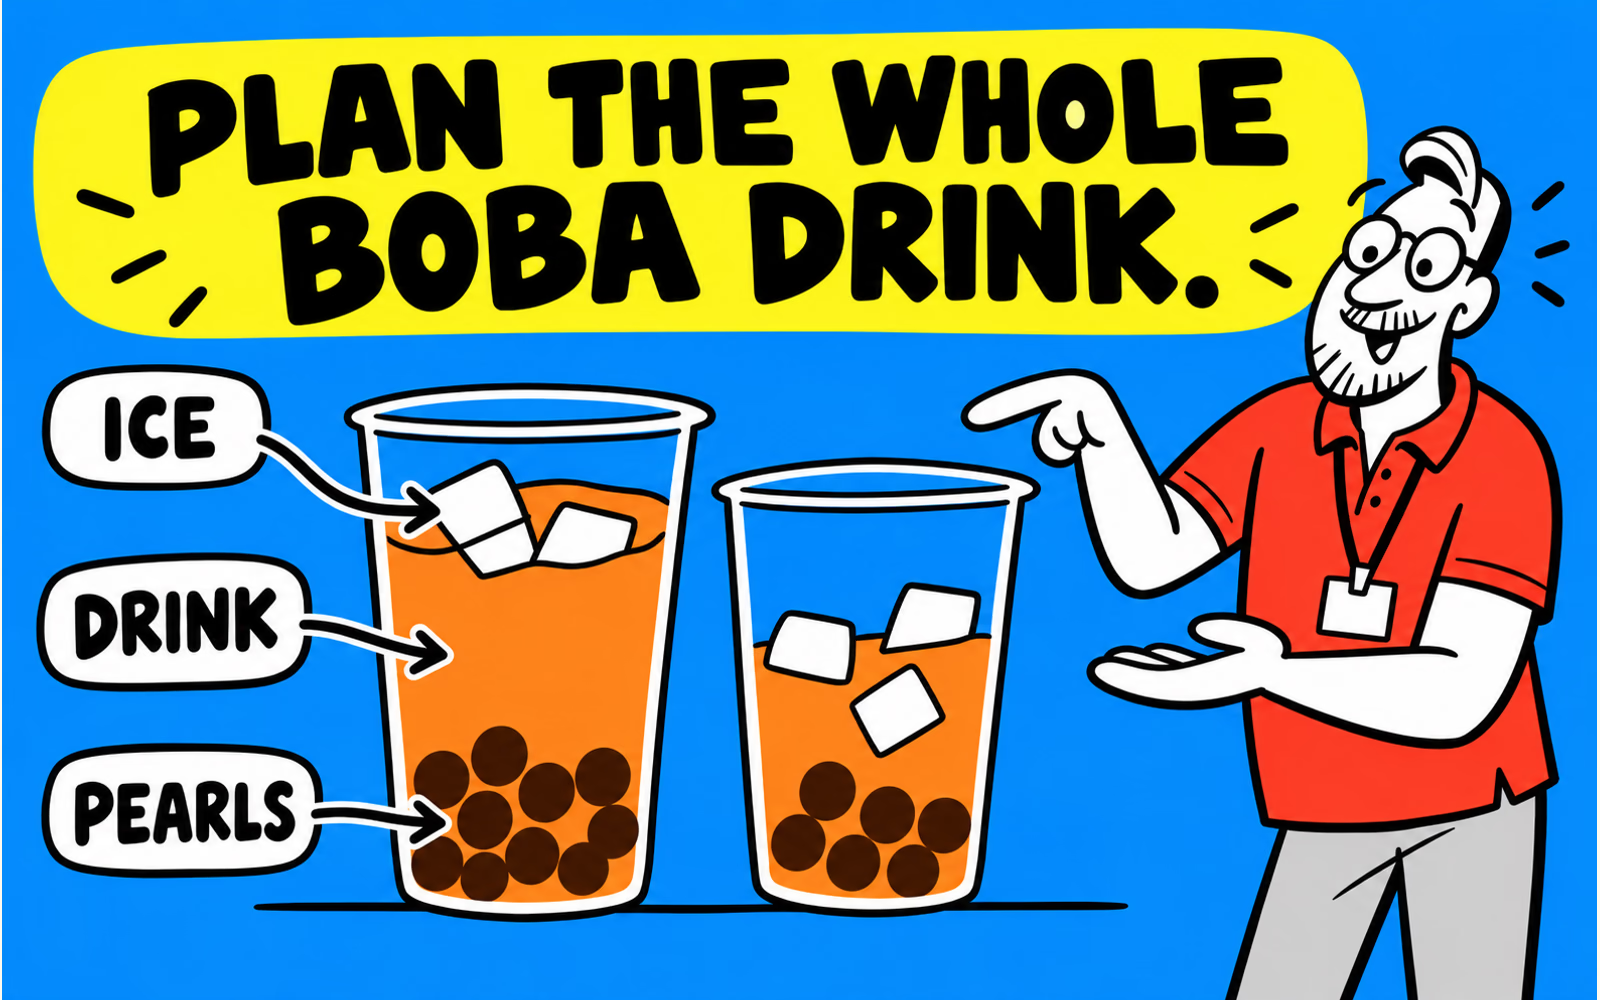
List the drinks and toppings you serve
Start with a short menu worksheet rather than a supplier size chart. Give each preparation a recipe identifier and record the offered size, toppings, ice option, and intended closure. Keep the customer-facing name separate from the proposed cup reference.
Include the variations your team regularly makes. A standard milk tea, a fruit drink with several toppings, and a low-ice version are different observations. Do not assume that removing ice means adding an unspecified amount of liquid; use the serving rule your business actually follows.
Pick representative orders
Choose examples that reveal the range: a routine bestseller, a topping-heavy order, and a variation that changes the fill. Prepare them in the normal sequence. Record what changes between orders so the purchasing decision is tied to a repeatable process.
The matcha and boba shop plan covers the wider packaging system. This exercise narrows that work to a menu-by-size buying sheet. For the detailed serving observation, keep the boba fill-space worksheet alongside it.
Compare nominal capacity and working fill
Ask how the proposed cup’s nominal capacity is defined. Then record the actual served arrangement in that exact sample. These are separate entries: a capacity label describes the cup, while the working fill describes your preparation with its toppings, ice, and closing space.
| Record | What it describes | How to use it |
|---|---|---|
| Nominal capacity | The proposed cup specification and its stated convention | Identify the candidate; do not substitute it for a recipe |
| Liquid portion | The liquid added in the actual preparation | Keep the recipe record consistent |
| Working fill | The completed drink with all additions and closure clearance | Compare the actual served arrangement |
Measure liquid in a suitable measuring vessel and describe topping and ice portions using your normal preparation method. Avoid treating a stack of ice or pearls as a liquid-volume conversion. Photograph the completed sample and label it with the cup reference and recipe version.
Keep a change log
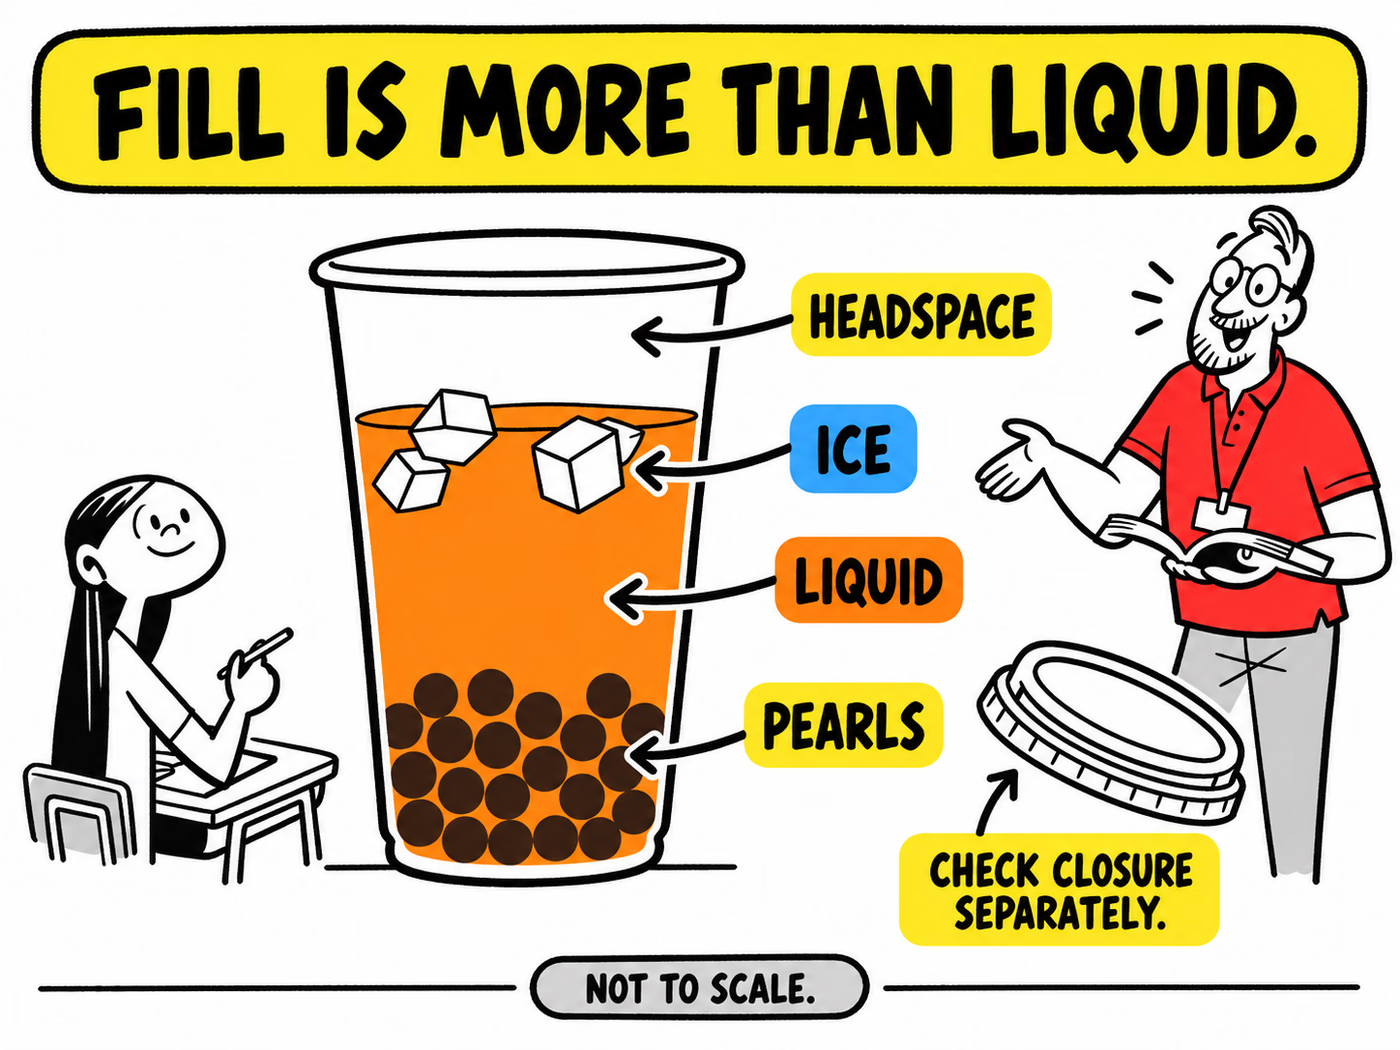
If the recipe, topping portion, ice procedure, or cup changes, repeat the observation. A note that says “fits regular” loses its meaning when “regular” changes. The diagram below separates the components without assigning recipe proportions or a universal headspace allowance.
Check the exact closure and straw setup
Specify the actual closure rather than simply writing “boba lid.” Record the cup reference, closure reference, relevant rim details, and the intended straw or drinking opening. Two cups carrying the same ounce label need not share a lid.
A sealing proposal also involves the cup, film, machine, and setup. Keep that as a separate feasibility question; a drawing of a clear cup does not establish that it can be heat sealed. Review sealed cups versus removable lids and the sealing specification guide before choosing the workflow.
Try the complete serving sequence
Use the proposed sample with your normal filling and closing steps. Check whether the straw can be used as intended and whether the closure operation disturbs the arrangement. Record actual observations and issues instead of assuming that a familiar-looking lid is compatible.
The broader cup-and-lid guide supplies the matching questions. Keep cup, closure, and accessory quantities separately visible in the purchasing sheet.
Prepare a size-by-size purchasing brief
Give each requested size its own row: menu use, candidate cup, nominal capacity, working-fill record, exact closure needs, straw needs, artwork version, and quantity. If several drinks might share a cup, show the preparations reviewed for that candidate.
On the Custom Plastic Cups page, 12, 16, 20, and 24 oz appear as request starting points. They do not establish your served liquid portion, an available sealing system, or a compatible accessory. Ask for the final specification for your drink.
Add any label requirement with its actual application area and cold-service conditions. For printed artwork, use the approved layout after the cup construction is identified.
A useful brief lets the reviewer compare your requested range without guessing what each size means. Send the filled worksheet, representative preparations, quantities by design, and delivery ZIP together.