
Iced Coffee Cup Branding: Keep Your Design Clear on Transparent Cups
Compare one cup graphic against light coffee, dark coffee, and ice. Plan direct print and labels separately, then evaluate the actual proposed sample.
Clear iced coffee cup branding has to work against the drink behind it, not just on a blank screen. Compare the same artwork on light coffee, dark coffee, and an ice-heavy view. Evaluate direct print and applied labels separately, then confirm the cup, print or label specification, exact closure, and application conditions with real samples.
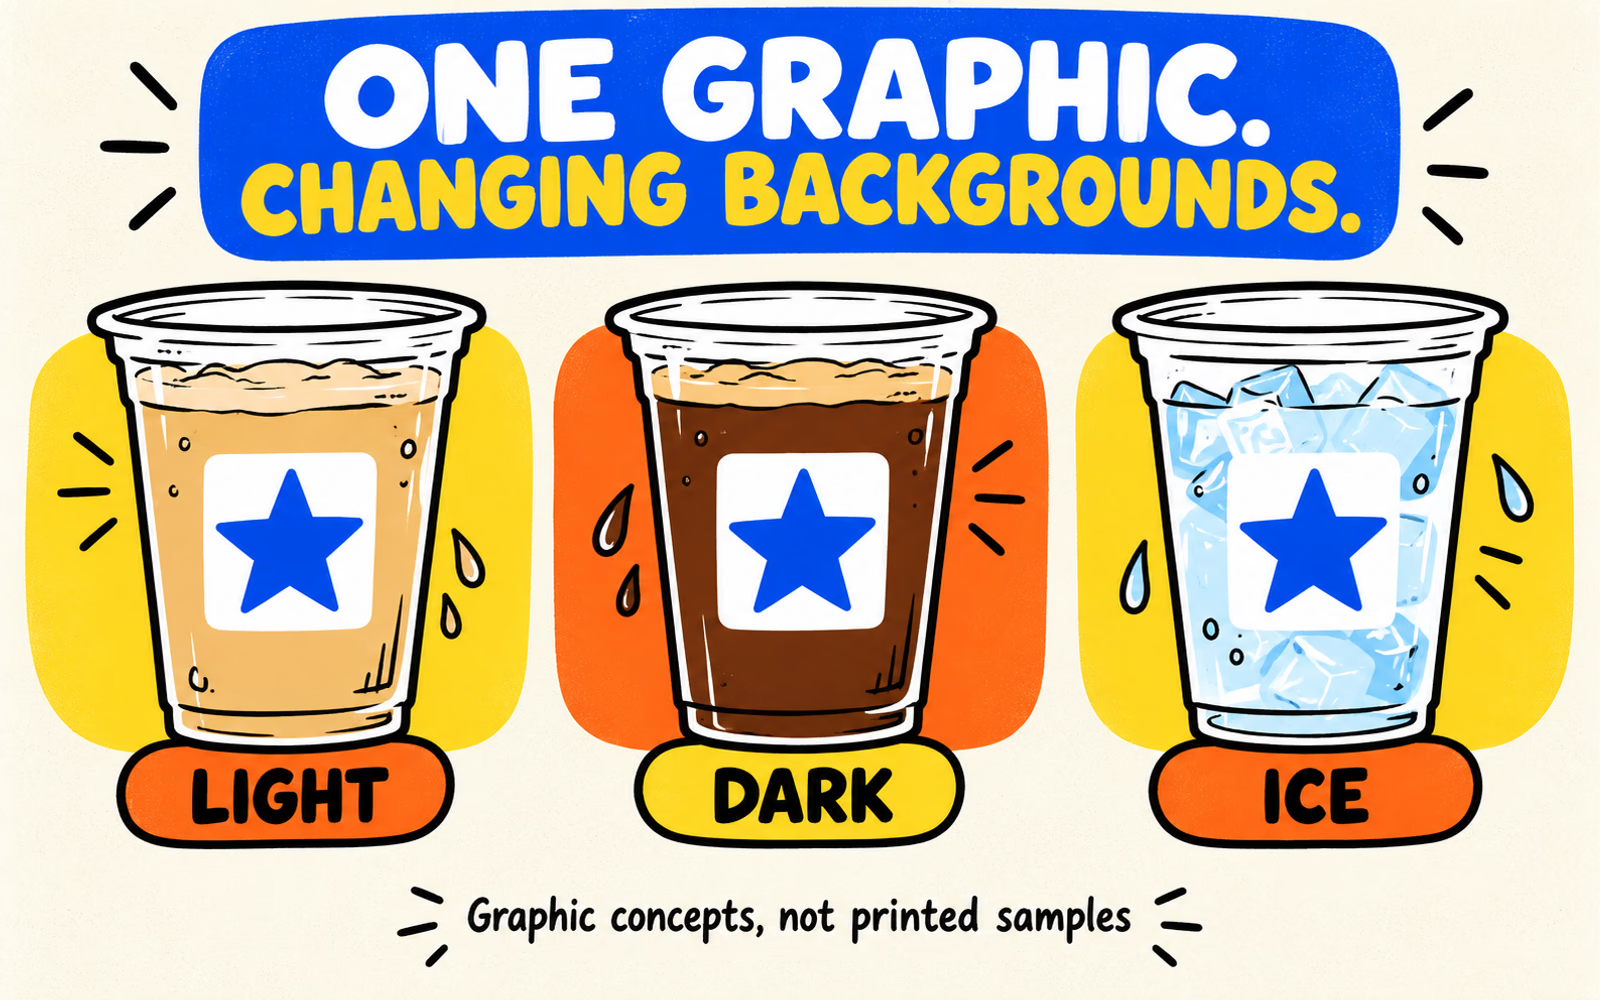
A transparent cup turns the contents into part of the graphic’s background. Use that changing surface as a design question from the start.
Understand the background behind a clear cup graphic
Choose representative drinks from the actual menu. A light milky drink, a darker coffee, and an ice-heavy arrangement provide different backgrounds for the same name or symbol. Include the intended working fill and the view a customer sees while holding the cup.
Make a controlled comparison
Keep the proposed cup reference, graphic, and viewing position consistent while changing the contents. That makes it easier to identify what belongs to the layout and what changes with the drink.
Record the areas affected by the rim, cup taper, closure, fill line, and normal grip. An attractive flat rectangle may not behave the same way when it wraps around a curved cup.
Gather three useful views
- The graphic against a light drink.
- The graphic against a dark drink.
- The graphic where ice and clear areas change the background.
- Each view at the intended finished size and normal holding position.
Compare direct print and label layouts
Start with the same intended message and proposed cup. Then compare two ways to apply the identity. Keep physical specification and artwork approval distinct.
| Question | Direct print | Applied label |
|---|---|---|
| Artwork area | Confirm the reference-specific printable zone | Confirm label dimensions and placement on the curved surface |
| Graphic background | Ask what ink or backing treatment is proposed | Confirm label face material and its actual appearance |
| Preparation | Review print proofs and received samples | Record surface condition and the application process |
| Versions | Track cup quantities by printed design | Track cups and labels by reference and design |
Ask how the proposed graphic is produced
A white panel in a digital concept does not prove that the quoted print includes an opaque backing layer. Confirm the actual ink, substrate, and artwork treatment. For a label, confirm the material, adhesive, surface, and intended application conditions.
Explore plastic cups, labels, and stickers against that request. Availability and suitability must be confirmed for the specific proposal.
Check contrast across different drink colors
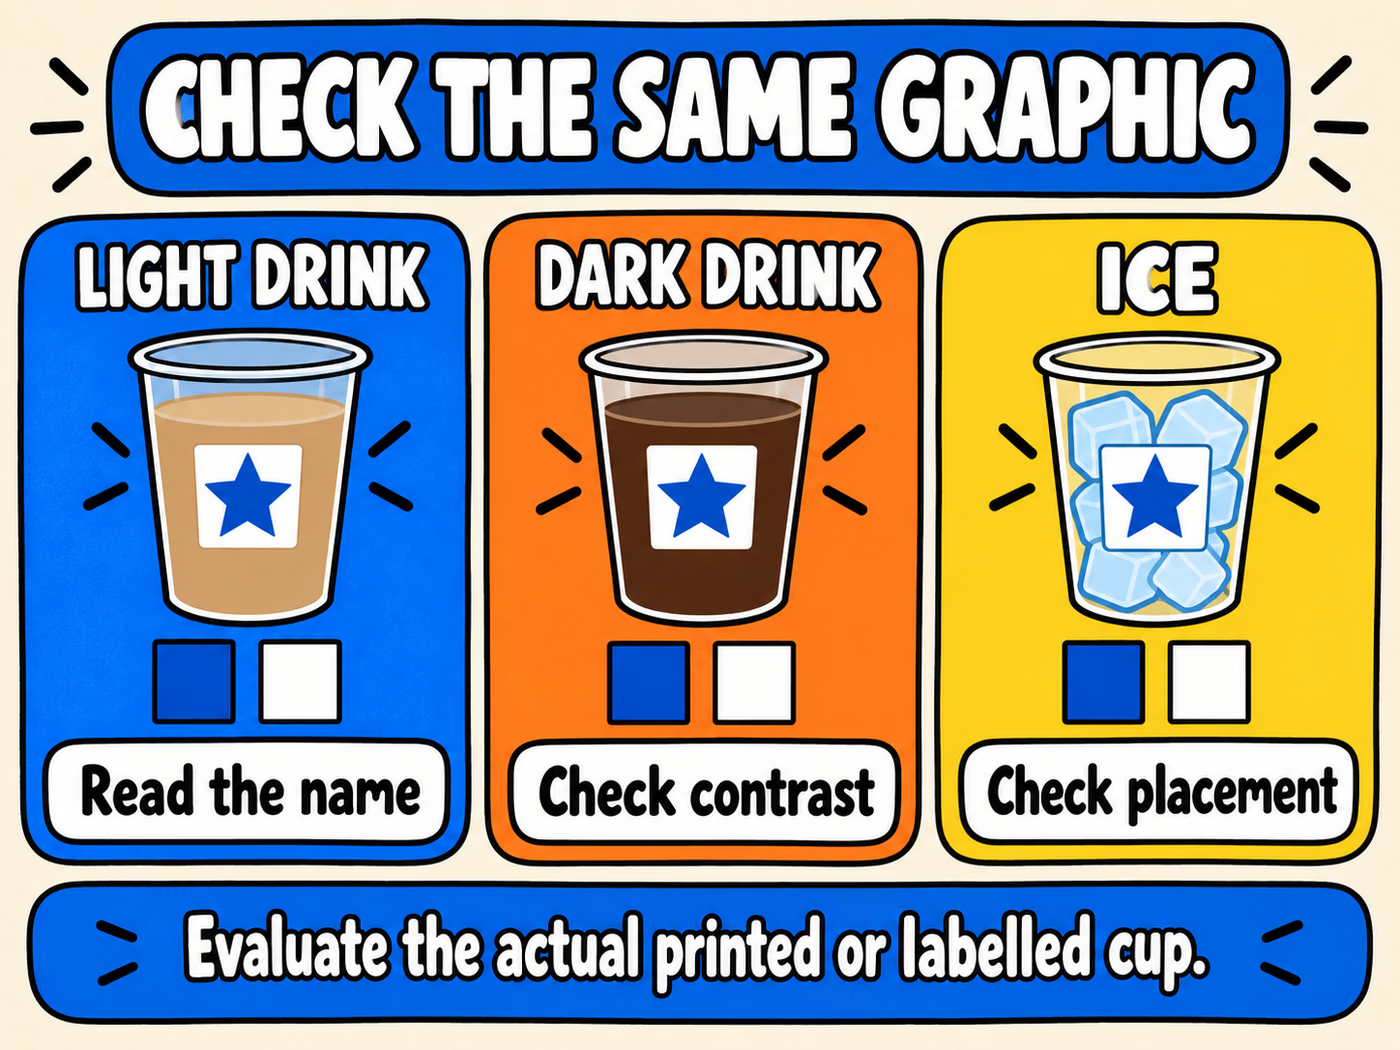
Evaluate whether the name and main symbol remain easy to identify across the selected drinks. Look at the complete graphic rather than one isolated color swatch.
| Background | What to inspect | What to document |
|---|---|---|
| Light coffee | Text edges and light artwork elements | Where parts of the identity become difficult to see |
| Dark coffee | Dark lettering and small details | Whether a different confirmed treatment is needed |
| Ice and clear areas | Changes behind the artwork | Visibility at the intended placement and holding position |
Keep simulations separate from sample observations
The blue-star illustrations show one concept against different backgrounds. They are useful for planning a review, but are not printed samples or evidence of adhesion. Evaluate the proposed real print or label at its actual size.
For labels, repeat the review under the intended service conditions, including when and how the label is applied. Record what happens as the drink is prepared and handled. Do not infer condensation performance from a photo-like effect or drawn droplets.
Specify the cup, print, and application conditions
Send the intended cold-drink use, requested capacity, actual working fill, proposed cup reference, and exact closure needs. Include artwork versions, quantity per design, and delivery ZIP.
Add the proposed application route and print or label area. For labels, record the surface condition at application, timing in the preparation sequence, and conditions to evaluate. For direct print, identify the actual ink and backing questions that need confirmation.
Use the cup and lid guide for reference matching and the artwork guide after the template is approved. If the same menu also serves hot drinks, review their construction separately with the paper cup guide.
Design for the drink.
Review the actual cup.
Planning your own café packaging? Share your drink use, requested capacities, exact lid needs, quantities by design, and delivery ZIP for a custom quote.
Planning references
- BrandYourPack: Cup Sizes and Lid Compatibility.
- Packaging Artwork Guide.
- Label Surface and Application Checklist.
Reviewed October 6, 2026. Original graphic comparisons, with real print, label, and cold-service evaluations pending for each proposed reference.