
Kickstarter Reward Packaging: Plan for Different Reward Tiers
Turn reward tiers and add-ons into complete packing combinations. Measure actual samples and separate common branding from version-specific cards.
Kickstarter reward packaging starts with every complete reward combination, including relevant add-ons and product variants. Measure the protected contents for each combination before choosing a box range. Keep shared branding stable, assign the correct insert version to each kit, and distinguish planning estimates from quantities confirmed for production. One attractive universal box is useful only if it works for the actual rewards.
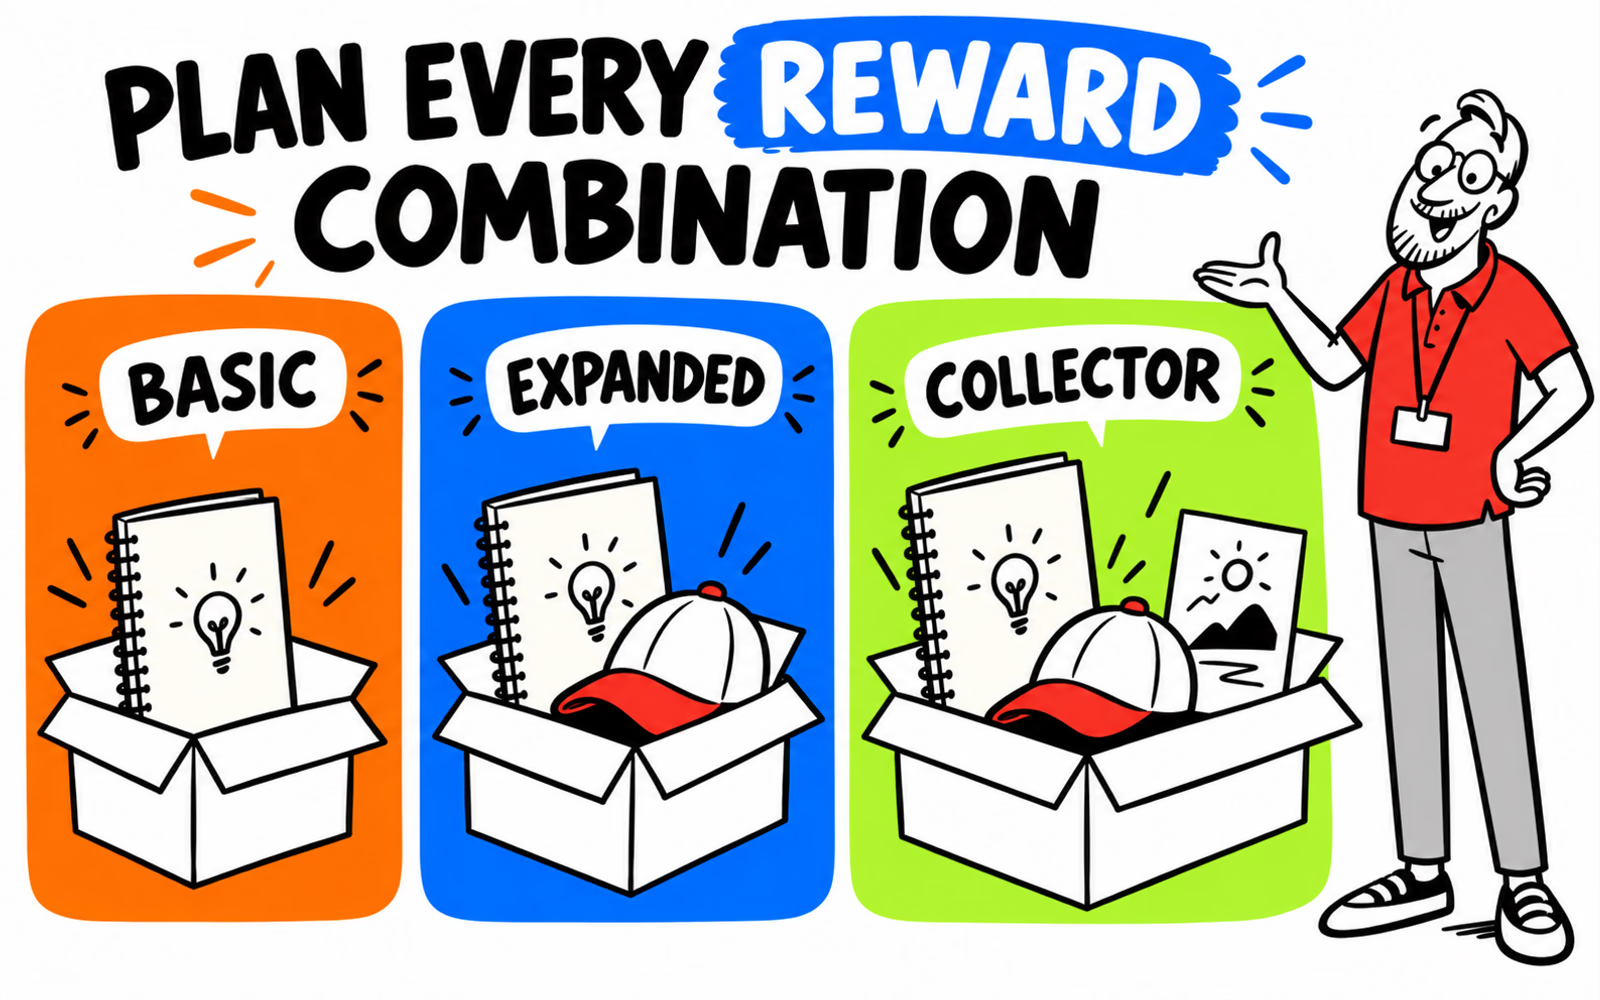
A notebook-only reward and a notebook with a cap may share the same campaign identity. They do not automatically share the same packing arrangement. Write the contents down before asking a designer to make them look like a family.
List the actual reward combinations
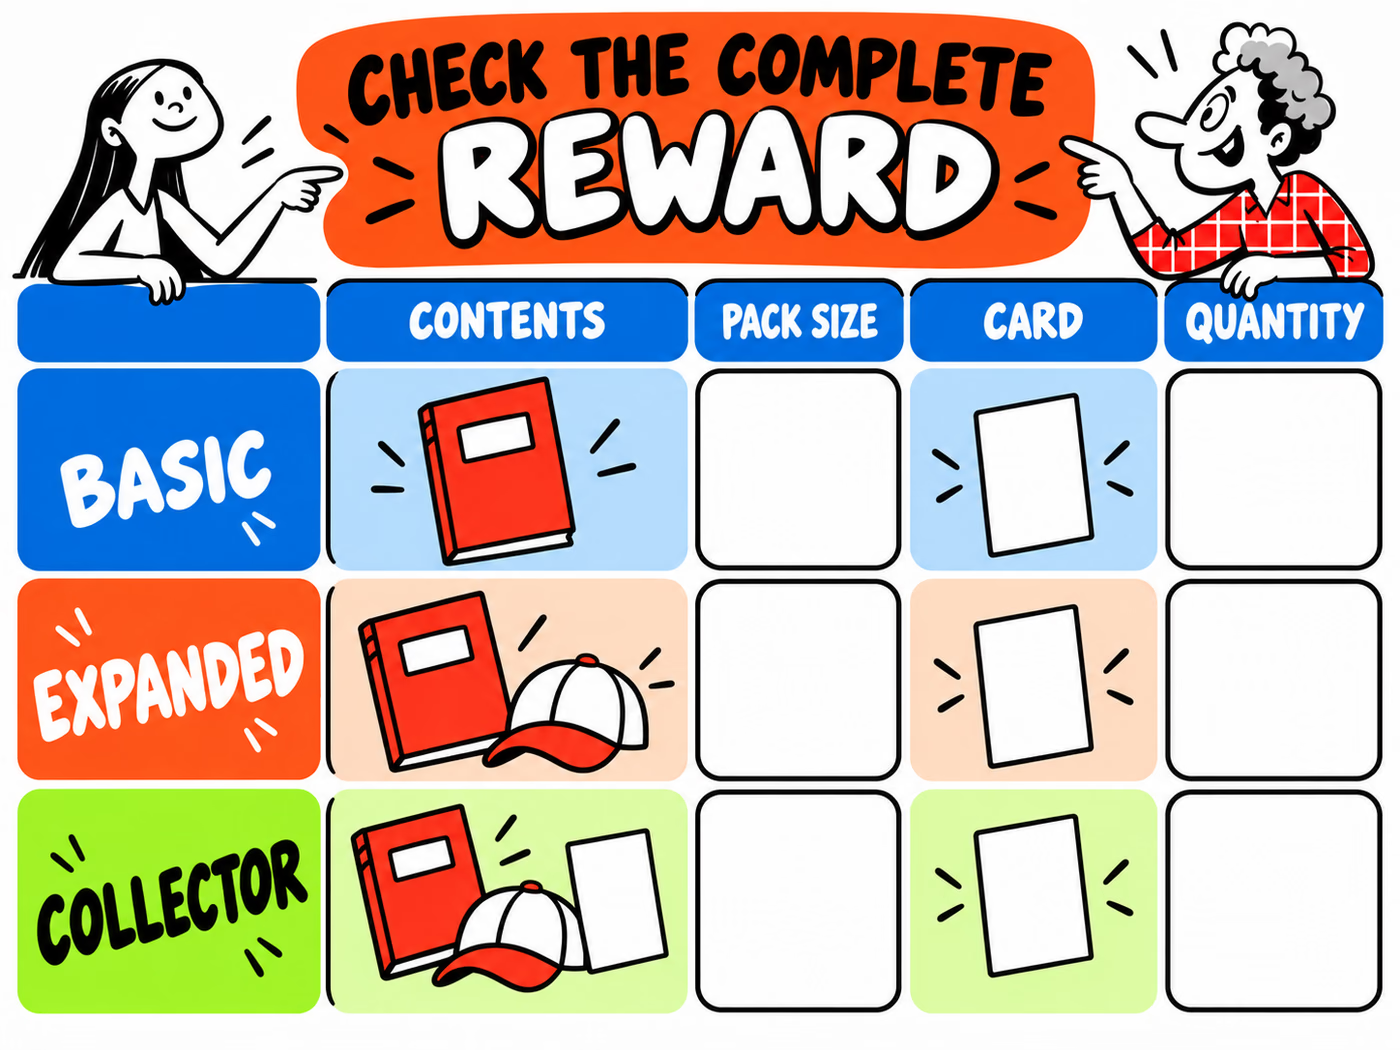
Create a row for each combination the packing team may receive. Record product references, variants, quantities within the kit, printed extras and the approved instruction version. A reward-tier name is a starting point; it is not a complete packing instruction.
Kickstarter’s Pledge Manager overview, reviewed October 6, 2026, describes reward upgrades, add-ons and order-data exports for fulfillment. That makes the actual finalized campaign record important: the contents of a parcel can differ from the original tier illustration. Follow the current platform workflow for obtaining the relevant order data.
Make exceptions visible
In our fictional example, Basic contains a notebook, Expanded adds a cap, and Collector adds an art card. A second cap or a different notebook edition would create another arrangement to review. These examples do not imply that any real campaign offers those rewards.
Give each packing combination an internal reference. Keep that reference connected to the verified order record, without printing private backer details on decorative cards. The contents-to-label verification example explains the final parcel check separately from order sorting.
Measure the smallest and largest packed rewards
Build a sample using the actual products and proposed protection. Include the notebook wrap, the cap’s packed shape and the card’s position. Record the complete arrangement’s length, width and height, with units, rather than copying dimensions from individual product listings.
| Combination | Complete contents | Packing question |
|---|---|---|
| Basic | Notebook and assigned card | Does the small pack hold the protected notebook without unnecessary space? |
| Expanded | Notebook, cap and assigned card | Does the cap alter the usable height or contact the notebook? |
| Collector | Notebook, cap, art card and assigned card | Can the art card remain separated from pressure and rubbing? |
Check the awkward middle combination too
The smallest and largest kits show the range, but they may not expose every problem. A combination with one unusually shaped item can need a different arrangement even if its overall volume is lower. Review that case before grouping combinations under a common packaging reference.
Use the complete-pack measurement guide. Note usable internal space separately from finished outside dimensions. A sketch is helpful for discussion; it cannot confirm fit, closure or transport performance.
Separate fixed branding from tier-specific inserts
Keep one campaign identity across the proposed box range. A shared color system and original mark can make several formats recognizable without forcing every reward into one construction. The coordinated kit guide offers a useful starting point for the reveal.
Then decide what actually changes on the insert. A basic kit may need a short welcome; a collector kit may need information about an additional component. Put each approved message into a named artwork version and assign it to the matching packing combination.
Separate a story from an instruction
Keep useful product information easy to find. If an item has assembly, care or access instructions, use the confirmed wording and destination. Do not turn an unverified delivery date, future reward or digital-access promise into permanent print.
The multi-component welcome-kit example shows how an insert can guide a reader through several items. Keep the customer-facing message concise while the internal packing sheet carries the operational detail.
Prepare a staged packaging brief for fulfillment
Use three clear stages in your project record. During planning, list proposed combinations and identify unknowns. During sample review, replace assumptions with actual dimensions, arrangements and artwork versions. Before production release, confirm quantities by packaging reference and record who approved them.
A change in reward contents should reopen the relevant packing review. Keep the sample photograph beside the component list so a new packer can compare the arrangement without reconstructing the designer’s intentions.
Quote the components separately
Explore mailer boxes, shipping boxes and insert cards for the confirmed range. List quantities by size and design rather than a single total that hides the mix. Follow the artwork guide for each approved construction.
Confirm the actual project schedule with the relevant suppliers and fulfillment team. This worksheet organizes a packaging request; it does not establish campaign demand, shipping prices or delivery dates.