PR Package Ideas for Small Brands: From the Box to the Insert
Compare launch, sample, and story-led PR boxes. Plan a clear focal product, useful information, and a feasible packed arrangement for your campaign.
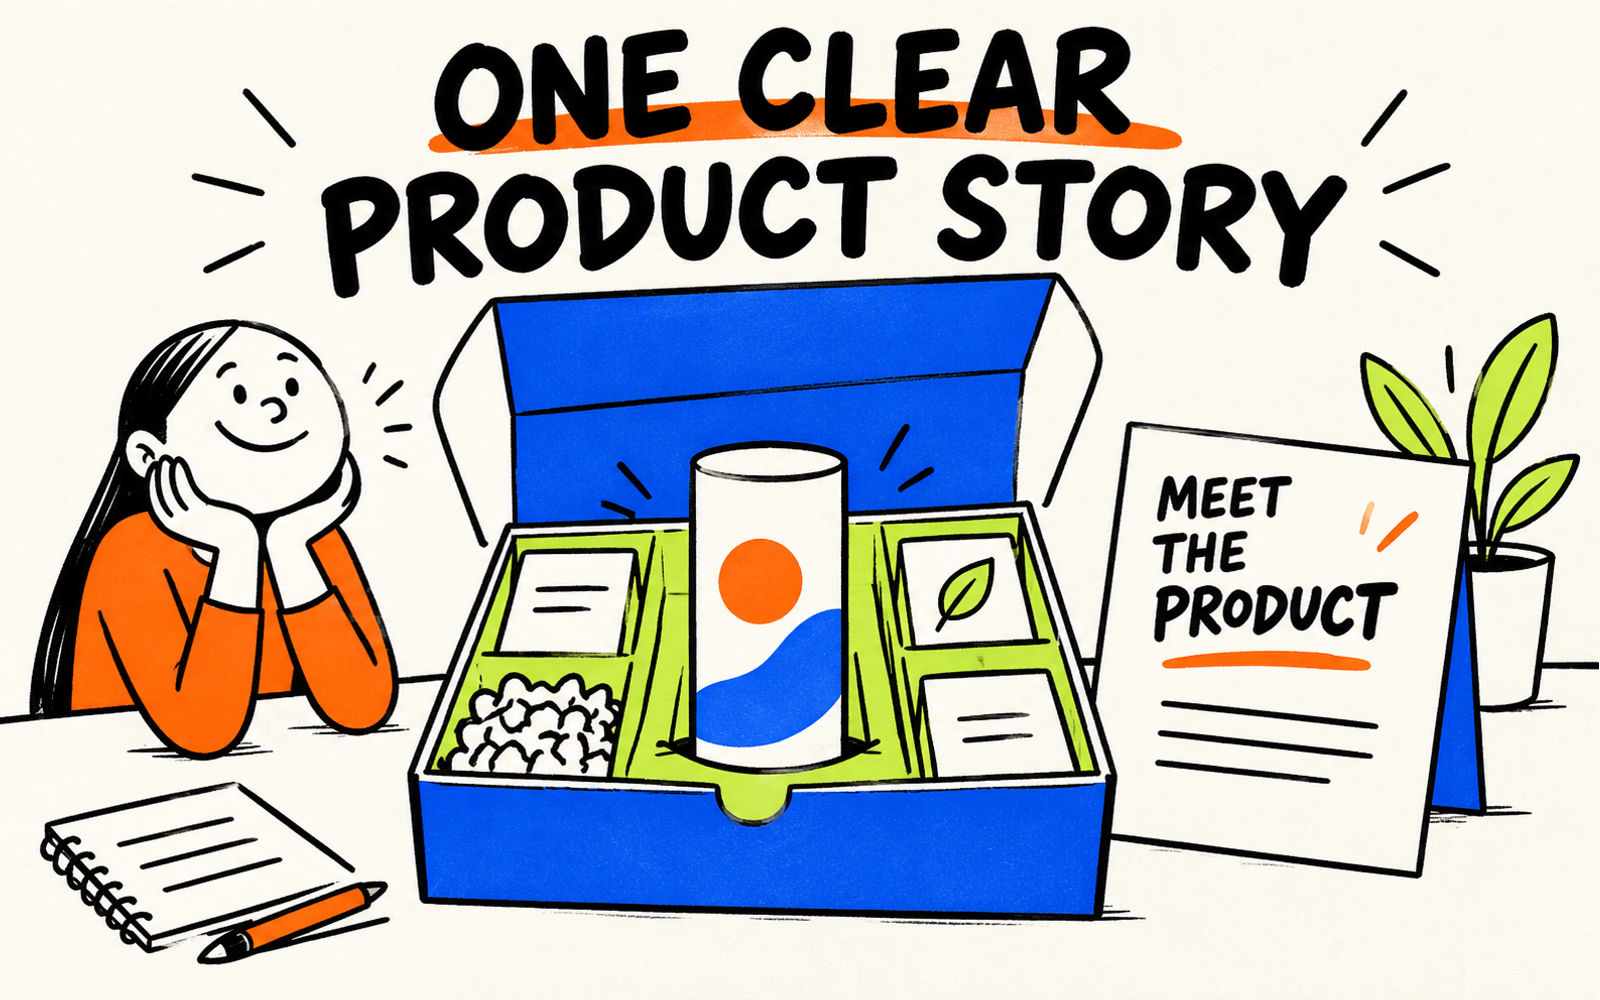
Useful PR package ideas give the recipient one clear product story, an organized opening, and information they can use afterward. Compare a focused launch box, an identifiable sample collection, and a story-led kit. Plan the product arrangement and shipping requirements first, then use the exterior and inserts to connect the message. Packaging cannot guarantee coverage, reviews, or a social post.
A thoughtful PR box does not have to reveal everything at once. It should make the focal product easy to find, explain why it is there, and provide a clear way to ask questions.
Define what the recipient should understand
Write one sentence describing the purpose of the kit. Is it introducing a new product, offering a comparison of samples, or explaining a collection? Use that sentence to decide which physical pieces belong in the box.
Give the focal product room to be understood
For a fictional small home-goods brand launching a new item, the kit could contain the product, a short introduction, confirmed product instructions, and contact information. An unrelated extra that competes for attention may weaken the hierarchy and add another packing task.
Record the audience’s information needs without assuming a promised publication. A concise product name and description can be useful to different recipients even when they open the box in different settings.
A clear PR brief starts here
- One purpose for the package.
- The actual product or sample references included.
- Confirmed information the recipient needs to understand or use them.
- The intended opening and shipping journey.
- A current contact destination for follow-up questions.
Compare launch, sample, and story-led PR concepts
Choose the structure that matches the message. These are original concepts, not examples of completed campaigns.
| Concept | Physical arrangement | Useful insert |
|---|---|---|
| Focused launch | One focal product with a clear first view | Short introduction and confirmed product details |
| Sample collection | Several identified samples in an organized order | Reference key matching each sample |
| Story-led collection | A group of products linked by one specific theme | Concise story connecting the actual included items |
Focused launch: make the first view intentional
Give the main item a clear position and keep the introductory card easy to remove. If a compartment or support is proposed, confirm its construction and fit with the actual contents. A sketch does not establish that a custom insert is included in a quote.
Sample collection: keep identity with each item
Assign each sample a readable identifier that stays associated with it after unpacking. Make the reference card use the same names. Review the arrangement with all samples present, not just one container.
Story-led kit: let the objects support the story
Use the card to explain how the included products connect. Avoid filling the box with items that require a separate explanation but do not serve the kit’s purpose. Keep required product information available independently of the campaign narrative.
The insert-versus-fill guide can help you distinguish positioning from loose filling. Evaluate the actual proposed support; neither approach automatically proves shipping performance.
Plan the opening sequence and information
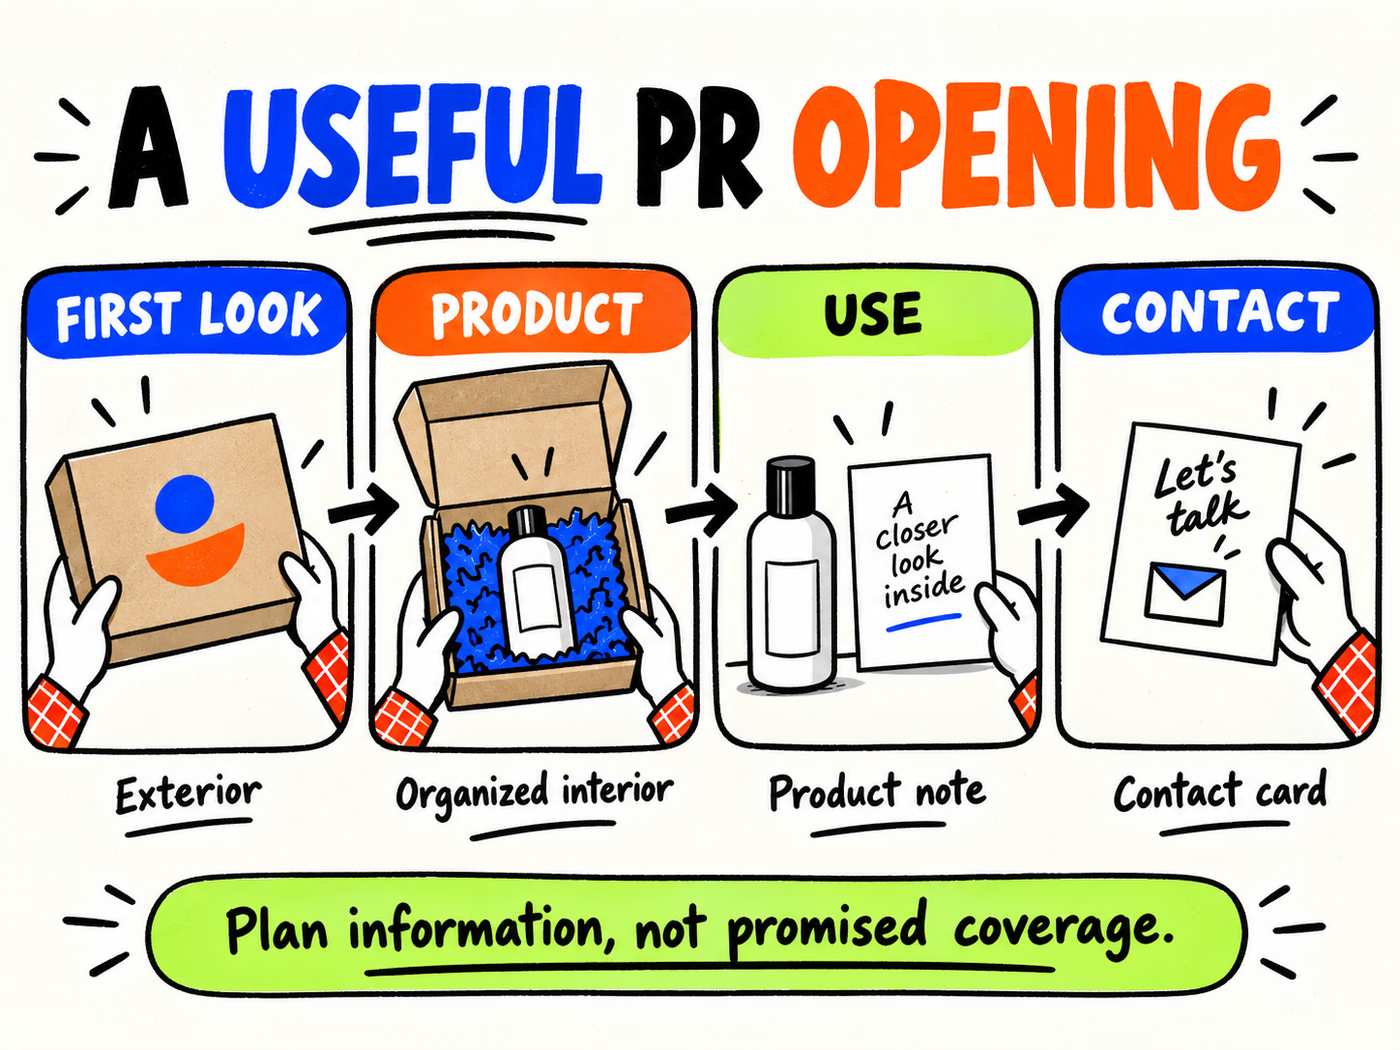
Walk through the opening as the recipient would. Start with the closed pack, lift the lid, find the product, then look for useful product and contact information. Link each step to a physical component.
| Step | Component | What it should communicate |
|---|---|---|
| First look | Exterior or opening panel | The sending brand and one clear introduction |
| Product | Organized interior | Which item is the focus and how to remove it |
| Use | Product note or existing instructions | Confirmed information specific to the item |
| Contact | Readable card | Where to ask a question or find current product details |
Test the destination as well as the layout
Check every printed URL or QR destination before approving artwork. Keep essential product information readable without requiring the recipient to scan a code. Recheck dated campaign wording if the same stock may be used later.
Try the full opening with a packed sample. Check whether the card obscures the product, whether parts shift, and whether removal is straightforward. Separate those observations from any shipping evaluation required for the proposed outer construction.
Specify a feasible presentation for your budget
List the full component set and measure the actual packed arrangement. Include product dimensions, proposed supports, presentation materials, and outer shipping requirements. Use the measurement guide to distinguish the interior fit from the exterior parcel.
Ask for a quote that identifies every included component and any setup, assembly, or delivery items. Keep quantities tied to each artwork version. A common exterior with campaign-specific cards is one route to evaluate; a fully campaign-specific pack is another, with different stock and preparation questions.
Explore mailer boxes, product boxes, and insert cards for their separate roles. Confirm special finishes and supports explicitly, and use the artwork guide once the format is agreed.
A clear first look.
Useful details afterward.
Planning your own mailer boxes? Share the packed-product dimensions, intended use, artwork versions, quantities, and delivery ZIP for a project-specific quote.
Planning references
- BrandYourPack: How to Measure a Mailer Box.
- Subscription Box Inserts vs Loose Fill.
- Packaging Artwork Guide.
Reviewed October 6, 2026. Original PR concepts, with no claimed real campaign, testimonial, audience metric, or guaranteed coverage.