SKIMS Packaging: Lessons for Clothing Brand Mailers and Presentation
Start with a documented SKIMS project, then separate presentation from the needs of your own clothing order. Specify the folded bundle before choosing a mailer.
SKIMS packaging can be studied through a specific documented project rather than assumed from every online unboxing. Separate the visual presentation from the protection and shipping requirements of your own garments. Fold the actual order, include its wrap and insert, and record the complete bundle before choosing a mailer. Use a distinct identity and confirm material and construction requirements separately.
A neatly folded shirt is a starting point. The packing decision changes when the order includes several sizes, a heavier garment, or additional pieces.
Inspect documented SKIMS packaging
BRAND+AID’s Skims Olympian Boxes case, listed as 2020 in its portfolio, identifies SKIMS as the client and describes custom packaging designed and produced for official gear sent to competing athletes. This is a named special project, not documentation of a typical current direct-to-consumer parcel.
Ask what the case actually covers
The useful observation is that the packaging brief was tied to a particular contents set and audience. The planning inference for a smaller clothing brand is to define the order being packed before choosing its presentation.
The source does not establish the material of every SKIMS mailer, a standard folding routine, or environmental performance. We do not infer those details from an image or transfer them to another product.
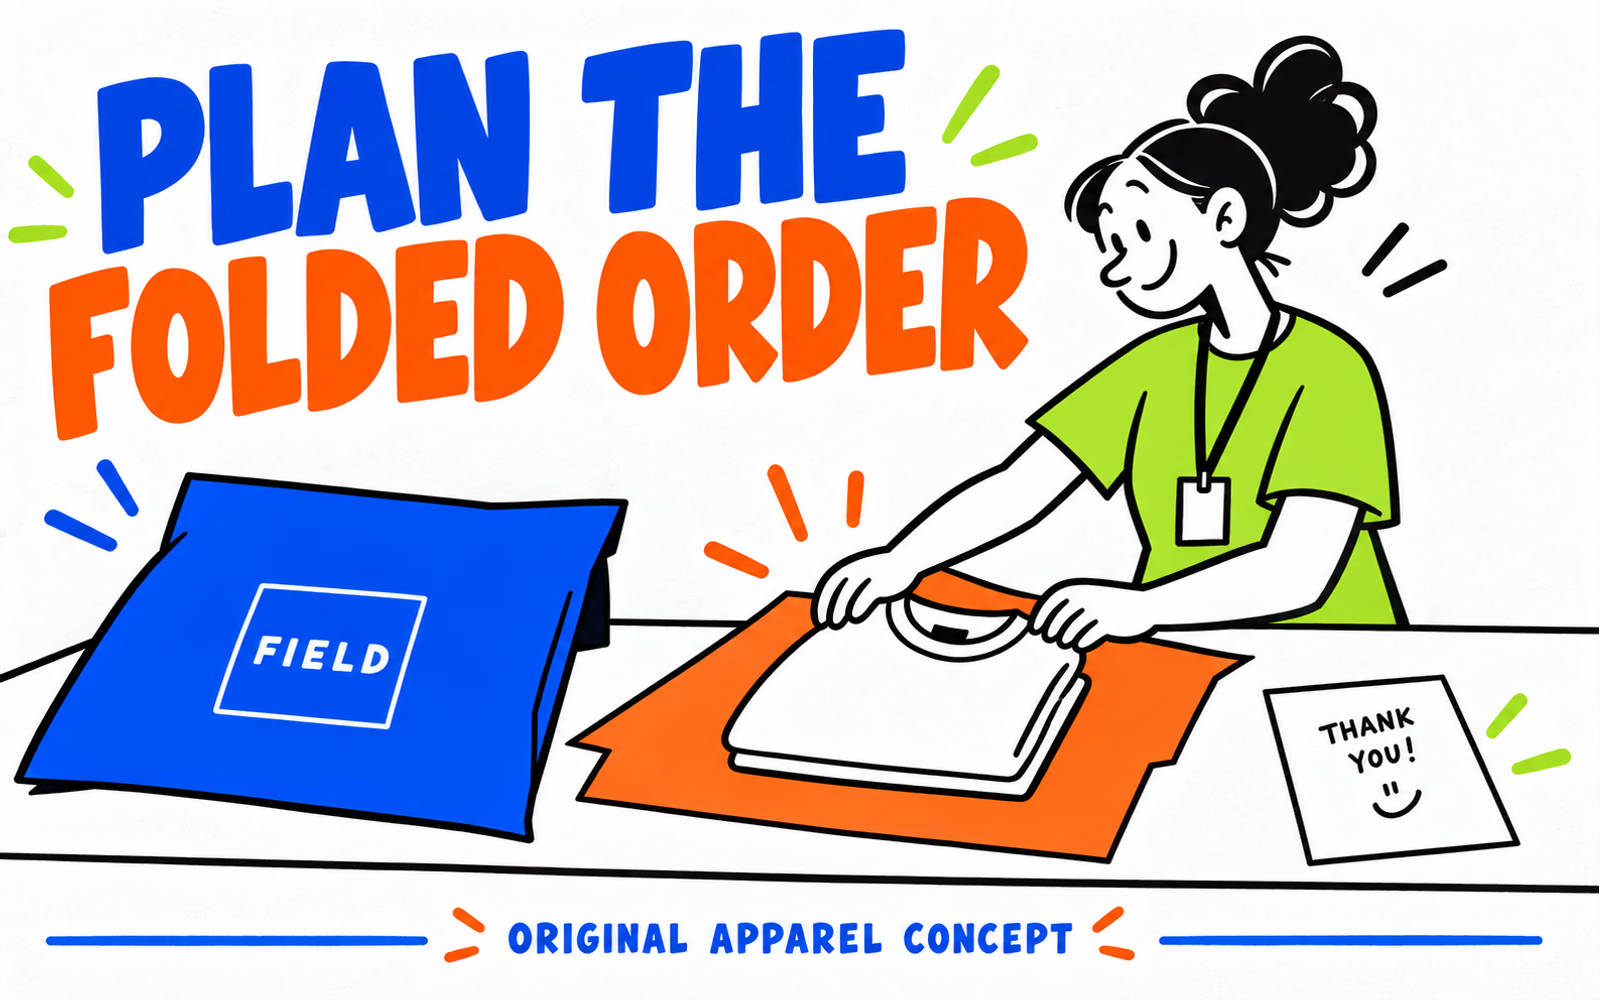
The bright Field drawing shows an independent apparel concept. It uses no SKIMS logo, distinctive type, or neutral brand palette, and it is not a sample made for that company.
Separate garment protection from presentation
Write two lists: what the garment needs during handling, and what the customer sees when opening the order. A decorative fold or printed tissue can shape the presentation without establishing the performance of the shipping layer.
| Layer | Describe the job | Question to confirm |
|---|---|---|
| Garment bundle | Keep the actual items organized | Which sizes and quantities change the arrangement? |
| Wrap or tissue | Create the intended presentation | What does it touch and what function is expected? |
| Outer mailer | Enclose the complete order | Which material, closure, and handling needs apply? |
| Insert | Deliver useful approved information | What wording belongs on the card? |
Consider buttons, zippers, accessories, or other features that change the packed shape. Record the arrangement rather than assuming all folded clothing behaves like the same soft rectangle.
Use the apparel packaging plan for the broader order specification. This case focuses on translating a documented presentation brief into your own folded-order exercise.
Coordinate mailers, tissue, and inserts
Choose a clear identity across poly mailers, tissue paper, and insert cards. Confirm available constructions and print areas for each component before adapting the artwork.
Decide what each piece says
The outer piece can carry the recognizable mark; the interior can keep the opening tidy; the card can supply approved care or help information. Avoid adding a separate slogan to every surface just because there is room.
Keep item-specific instructions tied to the actual garment. Do not invent a washing instruction, return promise, or discount for a decorative example. An illustrative teaching card is not a ready-to-print customer insert.
Compare paper and poly mailers by the real use and specification. For a format decision, use the apparel mailer-versus-box guide. Matching artwork does not make two constructions interchangeable.
Use the approved production template to check visible panels, folds, and non-printing areas. Review typography at finished size rather than judging a small card at a large screen zoom.
Specify your clothing order dimensions
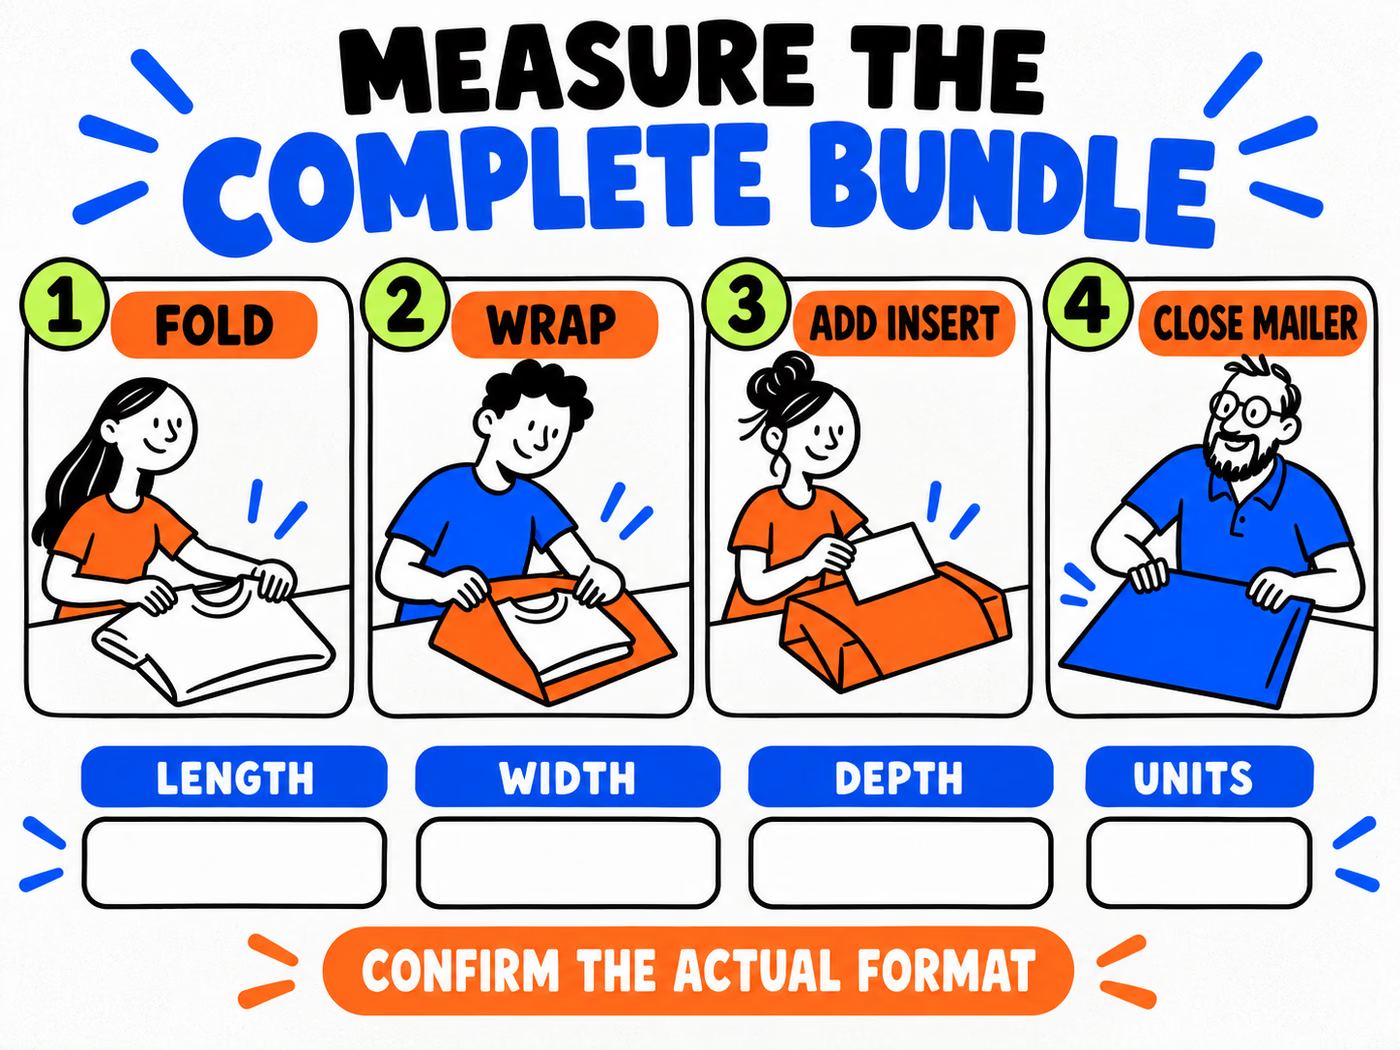
Build the complete bundle in its intended order: fold, wrap, add the insert, then review the outer closure. Measure the resulting length, width, and depth with units and orientation clearly named. Leave the worksheet blank until you have the actual arrangement.
Include the closure in the review
Confirm how the supplier describes the mailer’s usable dimensions and any closure allowance. Do not turn the bundle measurements into an automatic flat-mailer specification. An overfilled piece can look tidy from above while leaving the closing method unresolved.
Review the largest or most awkward order variation separately. Record the item sizes, count, wrap, card, and any additional support. Use the folded-garment sizing guide for a focused specification and the complete-arrangement method for clear dimensional labels.
- Attach the arrangement and its measured bundle.
- List component quantities and artwork versions.
- Describe intended handling and delivery ZIP.
- Identify construction and closure questions to resolve.
- Record the agreed sample or review scope.
The infographic is a planning sequence with empty dimension fields. It supplies no measured parcel, carrier label, material rating, or completed resistance test.