
Branded Packaging on a Budget: Stickers vs. Custom-Printed Boxes
Compare a plain box plus a sticker with a directly printed box using the same order, then include artwork versions, application work, stock, and delivery.
Branded packaging on a budget can start with a suitable plain box plus a sticker or with a directly printed box. Neither route is always cheaper. Compare the same packed order, quantities, and design versions, then include setup, application work, usable stock, and delivery. A lower quoted component price is only one part of the decision.
The fair comparison is not a small sticker against a premium box of a different construction. It is two ways to identify the same order. Define that order first, so the quotes answer the same question.
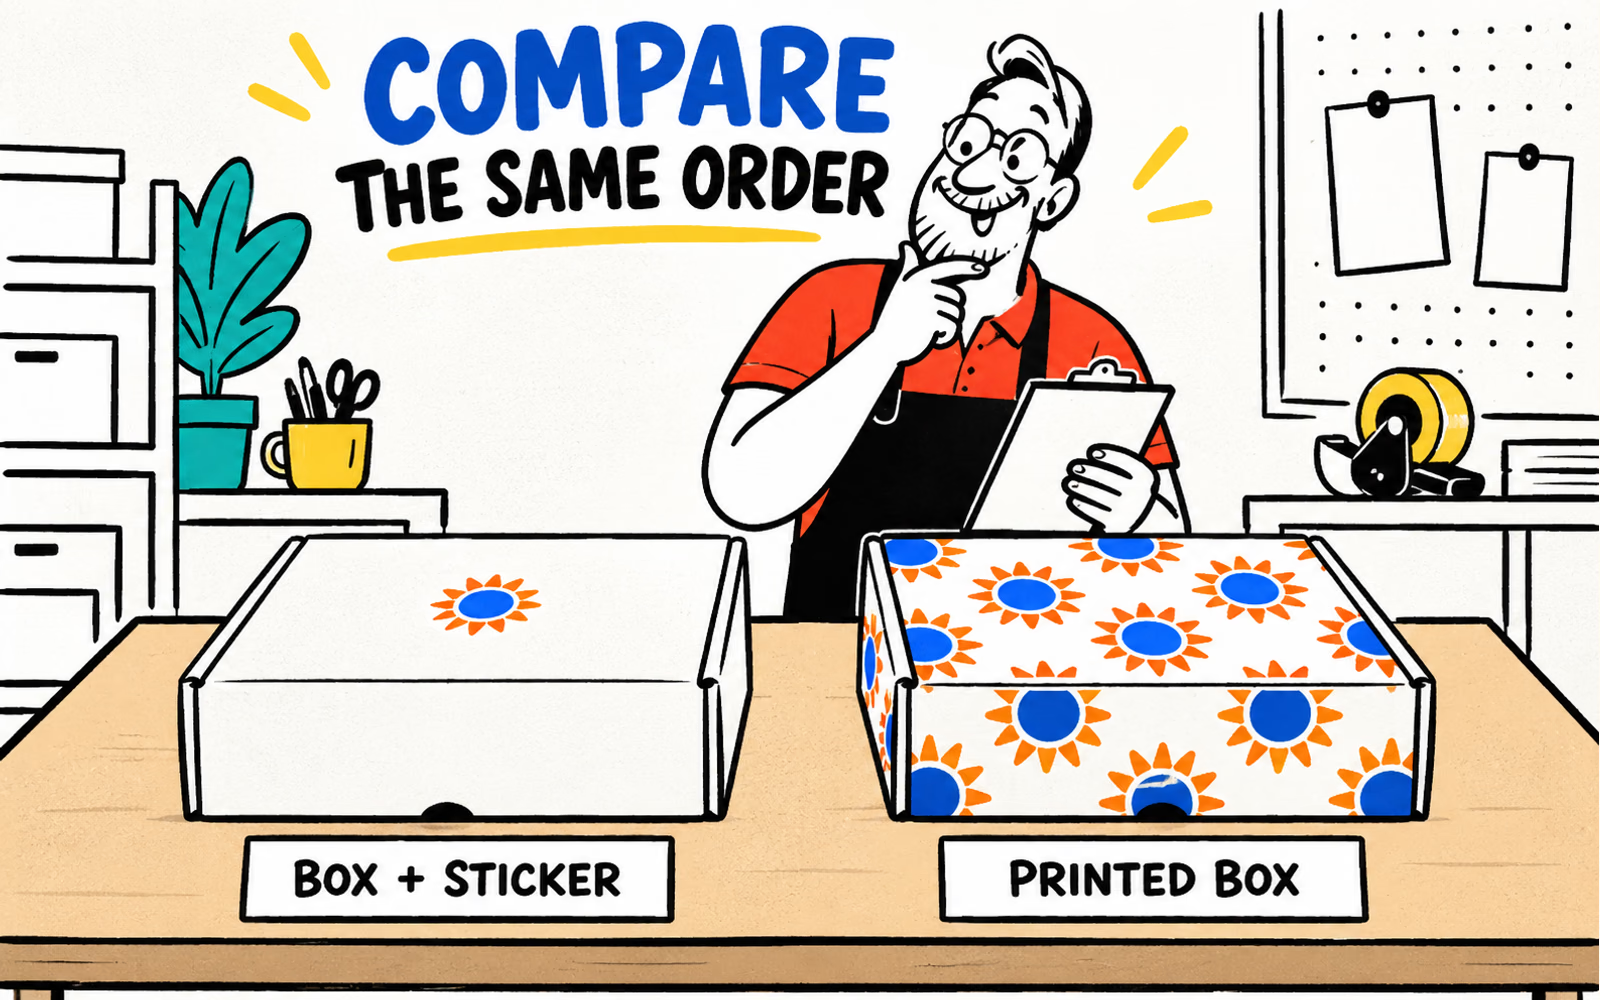
Define the same order for a fair comparison
Measure the complete packed product and identify the intended journey. Keep fit and required protection consistent across both routes. If one proposal changes the construction or packing system, note the change rather than attributing the whole difference to printing.
Write one shared brief
- The same contents and packed-product dimensions.
- The same intended shipping or handoff use.
- Equivalent proposed box construction for review.
- The same usable order quantity and artwork count.
- The same delivery destination and requested timing.
For example, a fictional maker might compare one identity on the same proposed mailer format: a plain box with one applied sticker versus that box directly printed. If the supplier cannot offer equivalent constructions, compare the actual differences explicitly.
Use the mailer measurement guide to describe inside fit. Delivered shipping calculations may use outside dimensions, so keep the two measurements separate in the request.
Compare stickers and printed boxes by task
| Task | Plain box + sticker | Directly printed box |
|---|---|---|
| Artwork setup | Confirm sticker size, file, surface, and each version | Confirm box template, printed areas, and each version |
| Application | Place the sticker consistently during packing or preparation | Check the received print; no separate branding-sticker step |
| Versions | Track boxes and sticker versions separately | Track box stock by printed version |
| Reorder | Coordinate two components so neither runs out first | Reorder the correct construction and artwork together |
Evaluate the actual label surface
A sticker needs a suitable surface, placement, and application process. Test it on the proposed box under the intended conditions. Decorative appearance does not prove adhesion or durability.
Evaluate the printed area
For direct print, identify what the customer should see and where closures or shipping labels will sit. More printed coverage is not automatically more useful. A simple motif may serve the job if its placement is clear.
The worksheet below leaves cost and work inputs open. Fill them from actual proposals and your own packing observations rather than relying on an advertised saving for a different order.
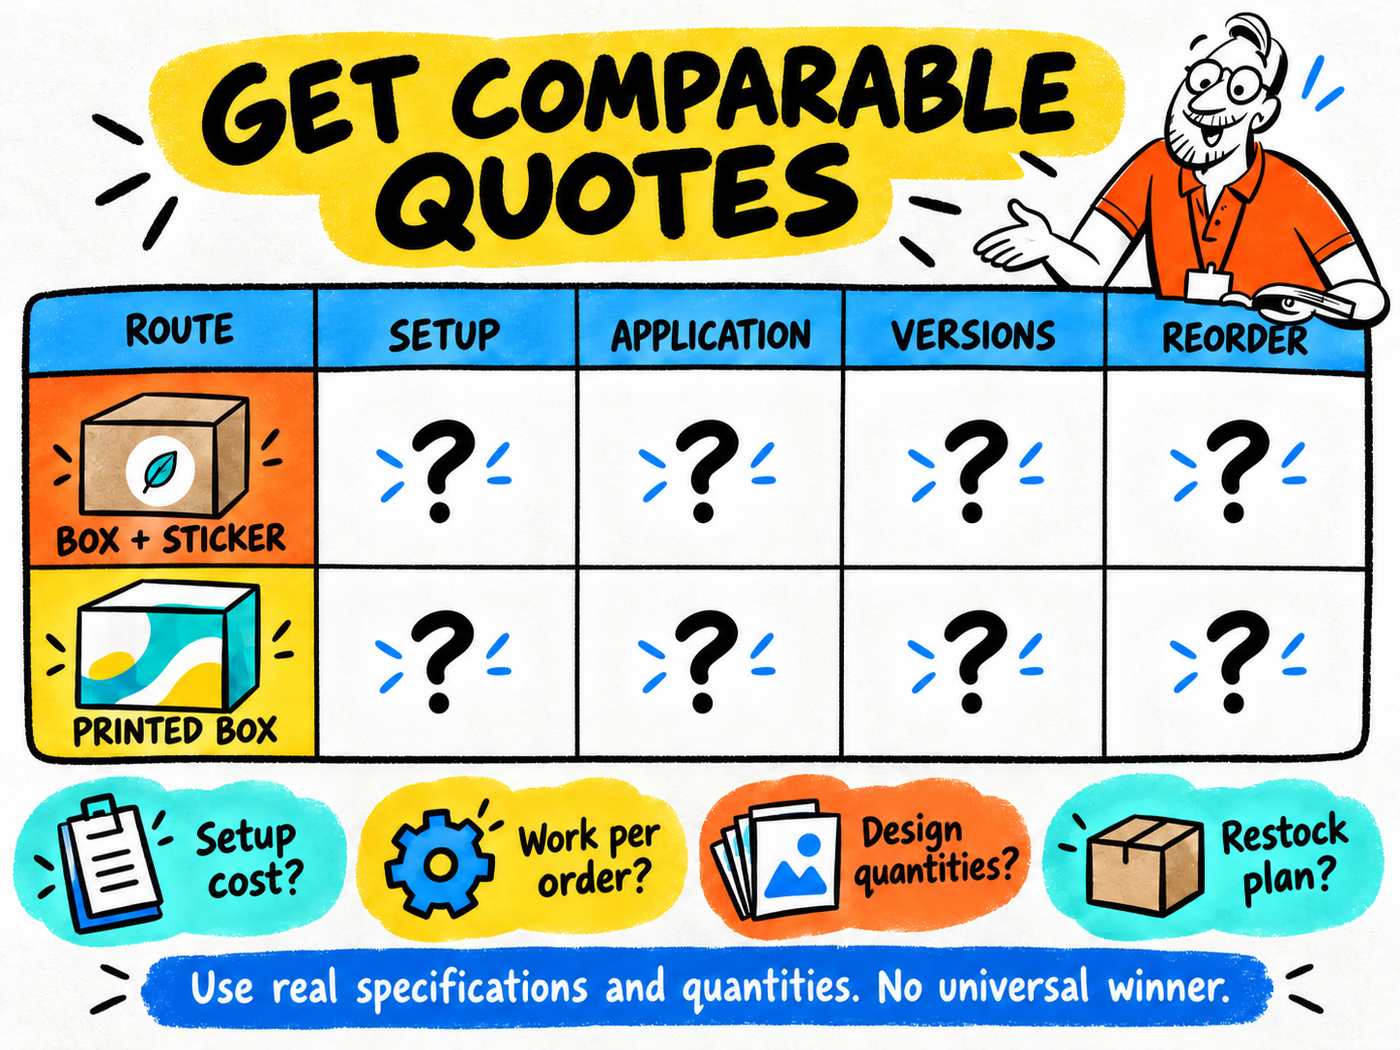
Include setup, application, and reorder needs
List one-time preparation separately from recurring work. A route with little artwork variation and steady use can raise different questions from one with many small design versions.
Record application work honestly
Pack a representative group of orders using your proposed sticker workflow. Record the task and any repositioning or waste you observe. Keep that observation specific to your process; do not substitute a universal seconds-per-box estimate.
For your internal comparison, recurring application cost can be organized as your recorded work time × your internal labor rate. Add the actual component, setup, waste, and delivery inputs relevant to each proposal. Blank or unknown inputs should remain pending, not become zero.
Track the usable quantity by version
A total purchase is not necessarily the same as usable stock for your next orders. A sticker version may remain after its matching product changes. A printed box may carry wording that limits where it can be used. Count each version and decide what happens to leftovers.
Plan the next purchase too
A box-plus-sticker route needs both parts at packing time. A directly printed route needs the correct printed box. Record current stock, confirmed supplier pack quantities, and replenishment assumptions for each reference.
Our packaging cost guide explains why specification and quantities matter. Use it to organize questions, not to assume a price or production minimum for either route.
Request comparable quotes with your real quantities
Send the shared brief with the two routes clearly labelled. Ask the supplier to identify what each proposal includes and to flag any differences in construction, artwork scope, quantity, or delivery.
Ask for the details that change the comparison
- Exact box reference and construction proposed for each route.
- Sticker size, application surface, and quantity per order where relevant.
- Artwork setup and quantities by design.
- Included components, delivery destination, and commercial terms.
- Sample and artwork approval steps.
- Confirmed reorder and timing information for the actual project.
Explore custom stickers, labels, and mailer boxes against that request. Prepare files using the artwork guide.
When both proposals are complete, choose the route that fits your budget and packing operation. For the rest of the customer opening, see the branded unboxing system. The identity should work as part of the complete order.
Compare the full order.
Choose with clear inputs.
Planning your own stickers? Share the intended use, finished size, artwork versions, quantities, and delivery ZIP for a project-specific quote.
Planning references & method
Reviewed October 6, 2026. This is an original comparison method. No supplier prices, savings percentages, minimum quantities, lead times, or adhesion-test outcomes are assumed.