
Coffee Sampler Gift Packaging: Organize the Tasting Before the Box
Plan a tasting kit around identifiable filled samples and a useful card. Measure the complete arrangement before specifying the gift box and support.
Coffee sampler gift box packaging should make the tasting easy to follow. Define the sample count and identification system, arrange the actual filled and closed pouches, and measure them together with the tasting card and proposed support. Choose the box from that complete arrangement. The card should help readers identify and record their experience without inventing tasting results or obscuring the samples’ required information.
The useful moment in a sampler is the one when a recipient can tell which coffee they are holding and what to do next. A larger logo cannot solve a mismatched card or a sample that disappears under the others.
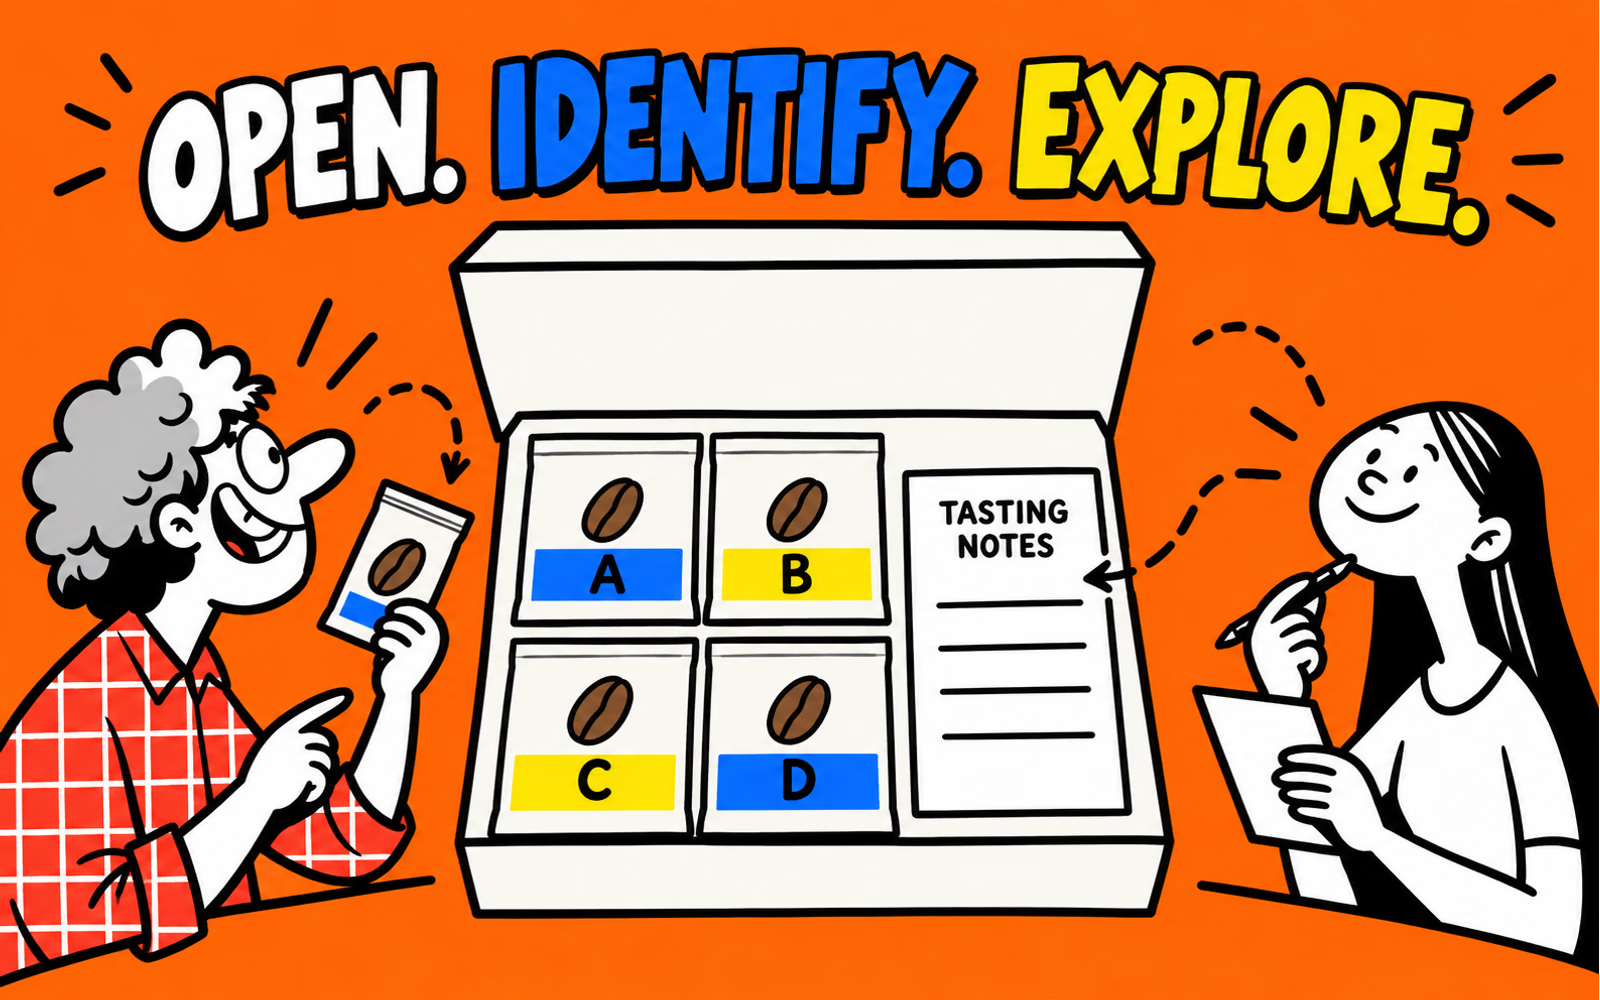
Define the number of samples and tasting order
Decide what the kit is intended to help someone explore. That might be a sequence selected by the roaster or an open comparison. State the actual sample count and the intended reader before choosing a box layout or a printed introduction.
Our illustration uses four fictional samples, A through D. The letters are an organizational example, not a suggested coffee formula or evidence of a real tasting. Use the actual sample references in your project record and keep the same references on the approved card.
Make the connection easy to follow
If the card says to start with A, make A easy to identify when the box opens. Do not depend on color alone: a consistent written reference also helps someone return to a sample after the pouches have been moved.
For a branded company gift, the corporate gift planning guide helps distinguish the sponsor’s message from the contents. Keep that message from crowding the tasting instructions or replacing the coffee supplier’s approved product information.
Measure the filled sample packages together
Use real filled and closed pouches from the intended coffee supplier. Empty bags can fold into a deceptively neat layout. Include the proposed card, separation and any protection, then record the complete arrangement’s dimensions with units.
| Component | Check in the packed sample | Record for the brief |
|---|---|---|
| Samples A–D | Filled shape, closures and accessible identifiers | Actual pouch references and complete dimensions |
| Tasting card | Position, removal and readable front face | Finished card format and artwork version |
| Proposed support | Spacing, movement and pressure on pouches | Reviewed support concept and open questions |
| Outer box | Usable space and closure with all components | Internal needs and finished external dimensions |
Measure the gaps as well as the objects
A small space may allow someone to lift a pouch, while a crowded closure can make the kit difficult to assemble. Review the actual arrangement rather than treating the illustrated grid as a production drawing. The pictured partitions are conceptual and need confirmation.
Use the coffee pouch specification guide for the filled packages. The weight-versus-pouch-capacity discussion explains why a weight description alone is not a dimensional specification.
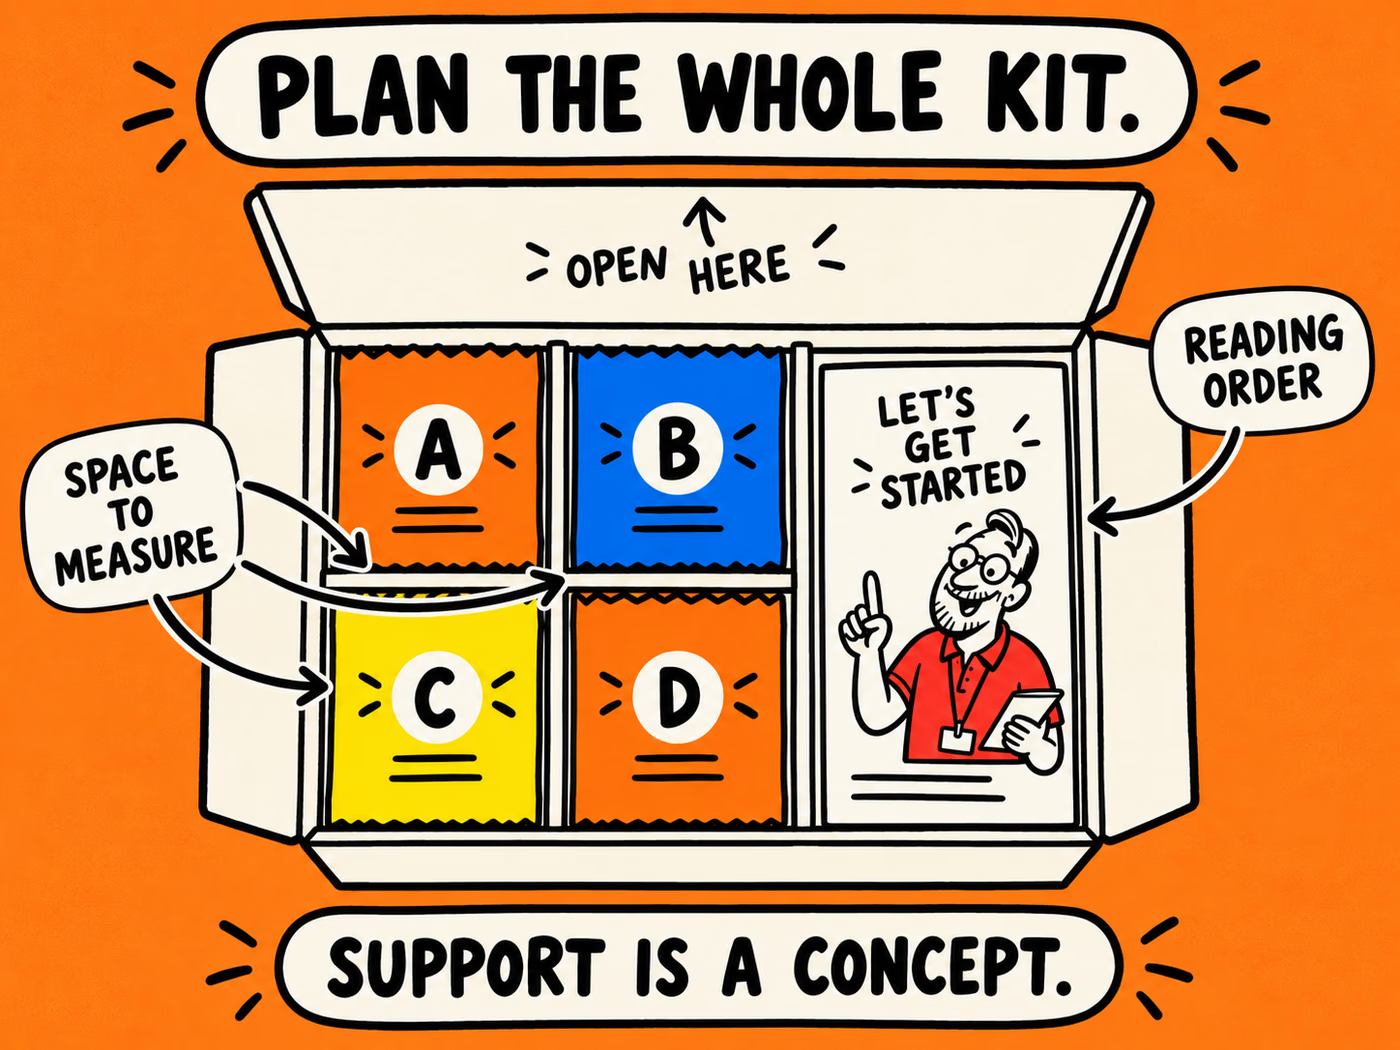
Design the identification and tasting card
Give the card a clear job: connect each sample to the supplier’s approved information and leave space for the reader’s own observations. A simple working structure uses Sample reference, What I noticed and What I would like to try again. Leave the observation fields blank.
If you include preparation guidance, obtain it from the responsible coffee supplier for the actual product. Do not invent a brew ratio, roast description or tasting note merely to fill space. A general welcome can be original; factual product details need a reliable source.
Keep the sample readable after opening
The pouch should remain identifiable when it is separated from the box. A card can help explain the kit, but it should not be assumed to replace applicable information on the coffee packaging. Review labeling for the actual product and sales context.
The individual sample-pack guide covers the pouch brief. This kit article adds the connection between several samples, the opening sequence and the tasting record. Keep both levels in the project sheet so the outer design does not hide an unresolved pouch question.
Request the printed components for the kit
Prepare a component list for the proposed coffee bags, mailer box and insert card. Include filled-product dimensions, closure needs, quantities by artwork version and the intended delivery ZIP.
Keep kit quantity separate from component quantity. A four-sample kit uses several pouch references and one card, but your real sample mix may vary. State the actual quantities for each component; do not let one kit total stand in for the full production request.
Approve the physical and printed versions together
Walk through assembly and opening with the actual proposed pack. Check whether the card matches the samples and whether each component can be handled without confusing the sequence. Record the approved arrangement and reopen review when the sample shape, count or card changes.
Follow the artwork guide for confirmed layouts. BrandYourPack quotes packaging components, not coffee or filling services. Discuss any proposed support and closure before treating it as an available feature. The illustration explains a layout idea rather than demonstrating a tested finished kit.