
How to Pack Fragile Products in a PR Box Without Hiding the Presentation
Give the reveal and protective system separate jobs. Review actual contact points, removal and the complete packed sample before approving the final artwork.
Fragile product PR packaging needs a protective system reviewed for the actual product and intended journey, alongside a clear opening sequence. Identify vulnerable parts and possible movement, distinguish decorative presentation from structural support, and evaluate the complete packed sample before approving the design. An attractive unboxing image does not show that the contents are protected in transit.
The recipient should be able to see the product and understand how to remove it. Getting there starts beneath the artwork: where the item sits, what it touches and what happens when the pack is closed.
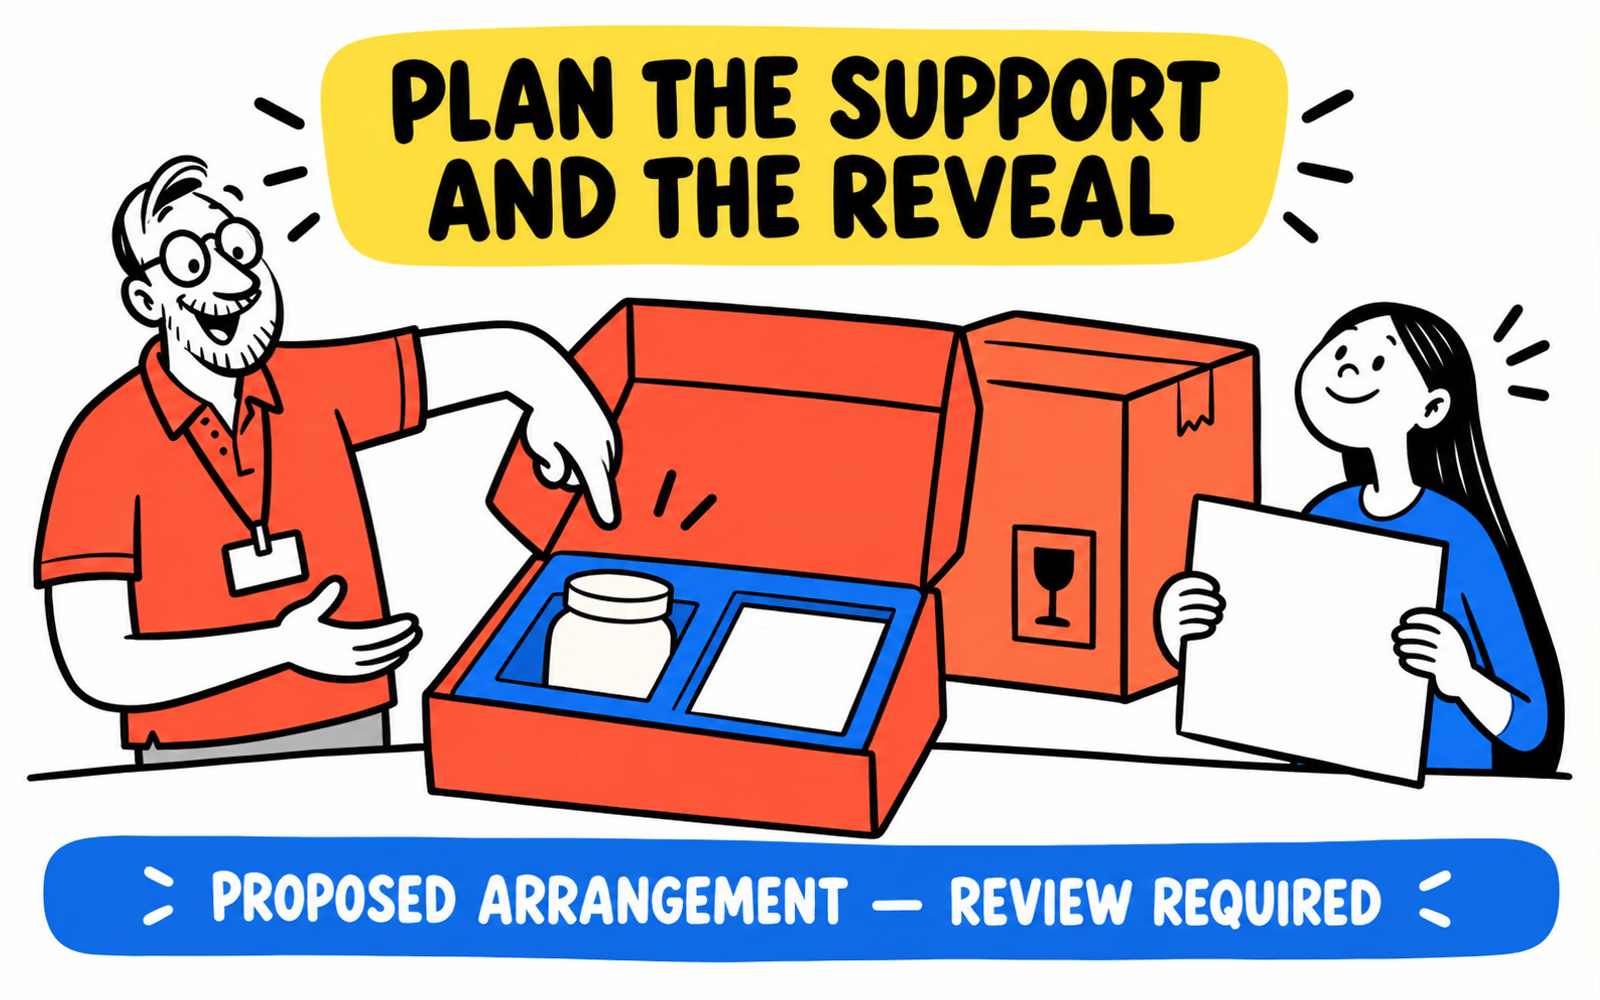
Identify the product’s handling risks
Begin with the exact product and primary container. Record dimensions, weight, projecting parts and the product supplier’s relevant handling information. Identify surfaces or components needing particular attention, rather than writing fragile as the entire specification.
For the fictional closed jar in our illustration, the review sheet asks about the lid, base, neighboring objects and how the jar is lifted out. These are questions for an actual arrangement, not claims that this proposed jar or support has been evaluated.
Describe the intended journey
State how the package will be stored, assembled, dispatched and received. A hand-delivered presentation and a parcel entering a carrier network are different contexts to assess. Keep the intended journey tied to the sample-review request.
The candle packaging guide separates a container from shelf, gift and shipping arrangements. Use that distinction for the actual product here without assuming that another jar’s support or packing result transfers to yours.
Separate the presentation layer from the protective system
Name the job of each component. The printed surface and message card introduce the product. The proposed support locates or separates it. The outer pack accommodates the complete arrangement for its intended handling. Those jobs may connect, but they need separate questions.
| Layer | Job to describe | Evidence or question to keep |
|---|---|---|
| Presentation | Introduce the product and message | Readability, approved copy and opening sequence |
| Proposed support | Locate or separate actual components | Contact areas, movement and construction feasibility |
| Primary container | Hold the supplied product | Product-supplier information and actual container reference |
| Outer pack | Accommodate the complete assembly | Fit, closure, intended handling and review scope |
Look beyond a tidy top view
A shaped cavity can look precise while leaving an unresolved contact point. Loose fill can look generous while its amount and packing method remain unspecified. Compare the complete proposals using the support-method guide.
The diagram below marks possible movement and spaces for real observations. It provides no universal clearance, cushioning thickness or pass result. Confirm the availability of any special holding component before treating it as part of an offered package.
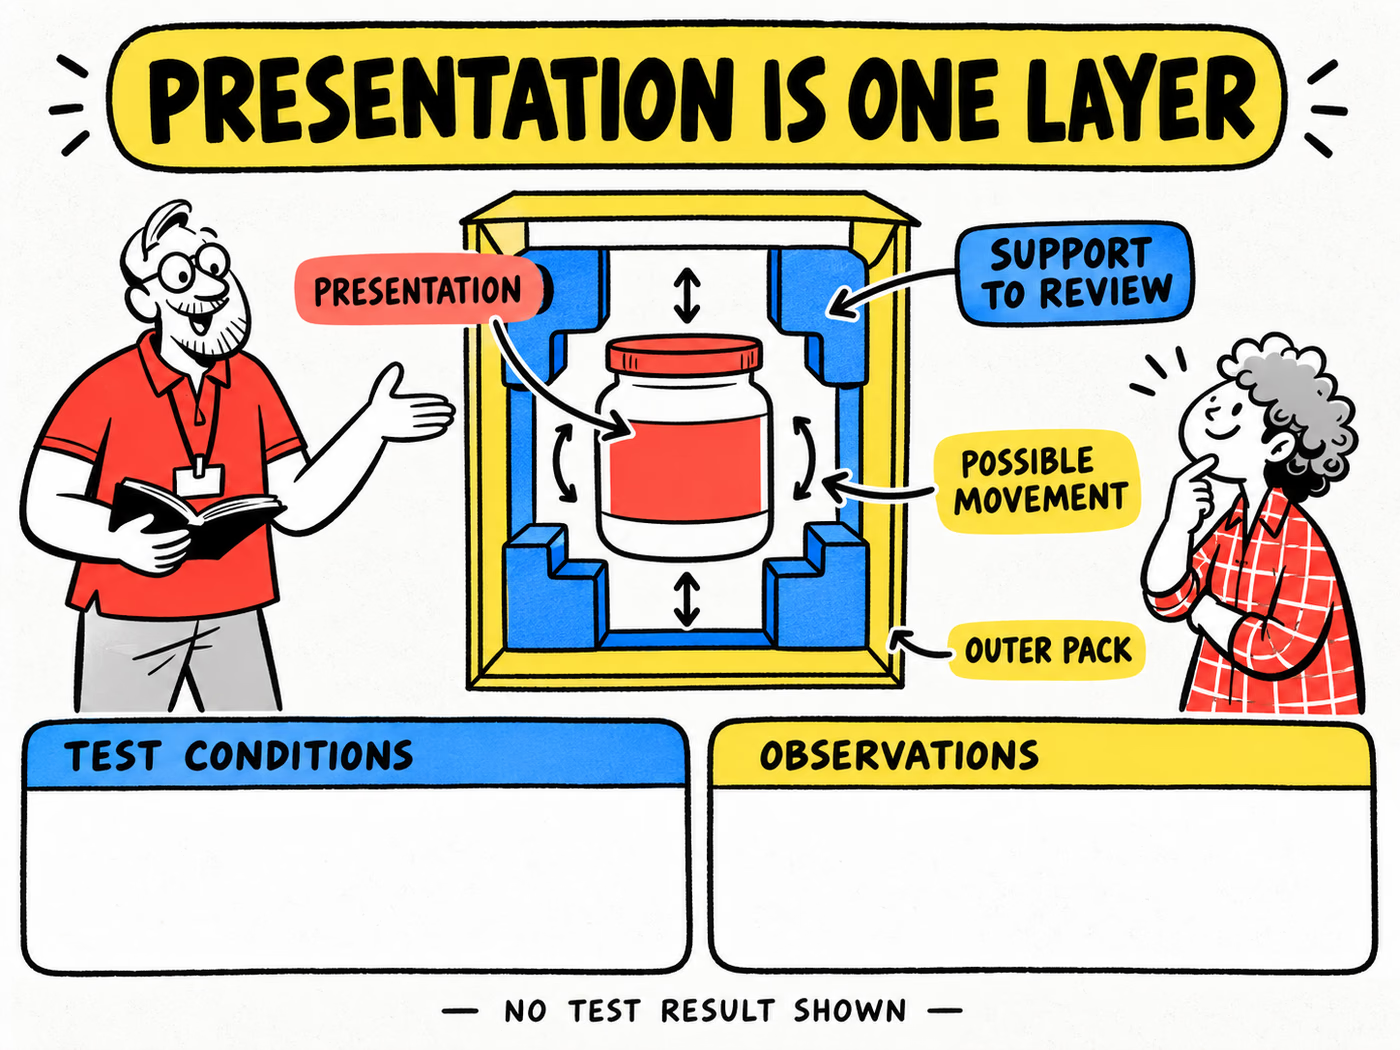
Plan support without obscuring the opening sequence
Sketch the removal sequence beside the assembly sequence. Which part does the recipient see first? Where can they lift the card? How is the product accessed without forcing a vulnerable edge or moving another object into its path?
Review those actions with the actual proposed pack. A support that looks tidy from above may leave no obvious removal point. If a tab, cutout or separate piece is proposed, confirm its construction and role rather than adding it only to the illustration.
Give the reader a useful route through the kit
Keep the message short and visible at the moment it is needed. Product-use information should come from the responsible brand. Avoid a decorative card that hides an important opening feature or makes the recipient rearrange loose objects before understanding the contents.
The PR package ideas guide develops the story and content hierarchy. This article focuses on the physical relationship between that reveal and the proposed protective arrangement. Preserve both in the brief so a later artwork change does not obscure a reviewed access point.
Test the packed sample before approving the final design
Define the review with the appropriate packaging and product specialists for the intended use. Use the actual product, primary pack, support, closure and outer construction. Record the sample references, method, sample count, conditions and observations before drawing a conclusion.
The sample checklist keeps those fields together. A fit walkthrough or empty-box review cannot stand in for evidence about transport protection. Retain unsuccessful observations and unresolved questions, not only the photograph that looks best.
Keep the conclusion within its evidence
State which arrangement was evaluated and what the review examined. If a product weight, container shape, support material or intended journey changes, identify what must be reviewed again. Do not turn one limited trial into a guarantee of damage-free delivery.
Explore mailer boxes and shipping boxes with the complete specification. Use the measurement guide for the assembled arrangement and the artwork guide for confirmed production layouts. Keep the approved sample record and artwork version together; neither a rendering nor a quote is a test certificate.