
Graduation Gift Packaging Ideas: A Shared Design with Personal Messages
Create a recognizable event design, then organize the personal details separately. Match every keepsake, card and artwork version before preparing quantities.
Graduation gift packaging ideas work best with one original event design and a clear plan for changing personal details. Define the actual keepsake, choose a simple presentation and separate shared graphics from names or messages. Confirm spelling, dates, quantities and printing options before preparing final files. A blank message card can be part of the plan without promising automatic personalization.
A graduation collection may include one gift for every guest, a special keepsake for each graduate or several different sets. Those choices change the packing and artwork work long before a celebratory motif is added.

Define the gift and number of artwork versions
Start with the actual keepsake and recipient group. A notebook handed to every attendee is one arrangement; a notebook and small accessory for each graduate is another. List the contents and count the sets before selecting the packaging format.
Then separate physical assortment versions from artwork versions. Two gifts might share the same printed card even when their contents differ. Conversely, identical gifts may need different cards because the message or recipient information changes. Keep both records visible.
| Decision | Example to record | Question before production |
|---|---|---|
| Contents | Notebook alone or notebook with accessory | Which complete set fits this format? |
| Shared design | One original event motif | Which components repeat it? |
| Event details | Confirmed wording and date | Who approves this copy? |
| Personal detail | Handwritten or separately supplied message | How is each card matched to its gift? |
The event-favor guide offers a related component-planning approach. This graduation brief adds a version record for the event and recipient details. The same visual theme does not remove the need to review each actual gift arrangement.
Compare simple original packaging systems
Compare a rectangular box, a paper bag and a wrapped presentation against the real contents. Use one original geometric motif to connect them. Give the product and card enough space to be recognized, rather than filling every surface with celebration graphics.
A box may help organize a set; a bag may suit an appropriate counter handoff; a wrap may create a simple decorative presentation around a regular shape. Confirm the actual construction and handling needs on a complete sample. These concepts do not establish load capacity or shipping protection.
Keep the identity your own
Use original shapes, typography and illustrations. University crests, institutional names used as branding and official seals need the relevant authorization before appearing in artwork. Do not invent an institutional partnership merely to make a graduation gift look official.
Our illustration avoids institutional branding, names and dates. The wrap-versus-box comparison explains how to compare the same gift in two complete arrangements. If the keepsake will be shipped, measure and review the outer parcel separately.
Separate shared event graphics from personal messages
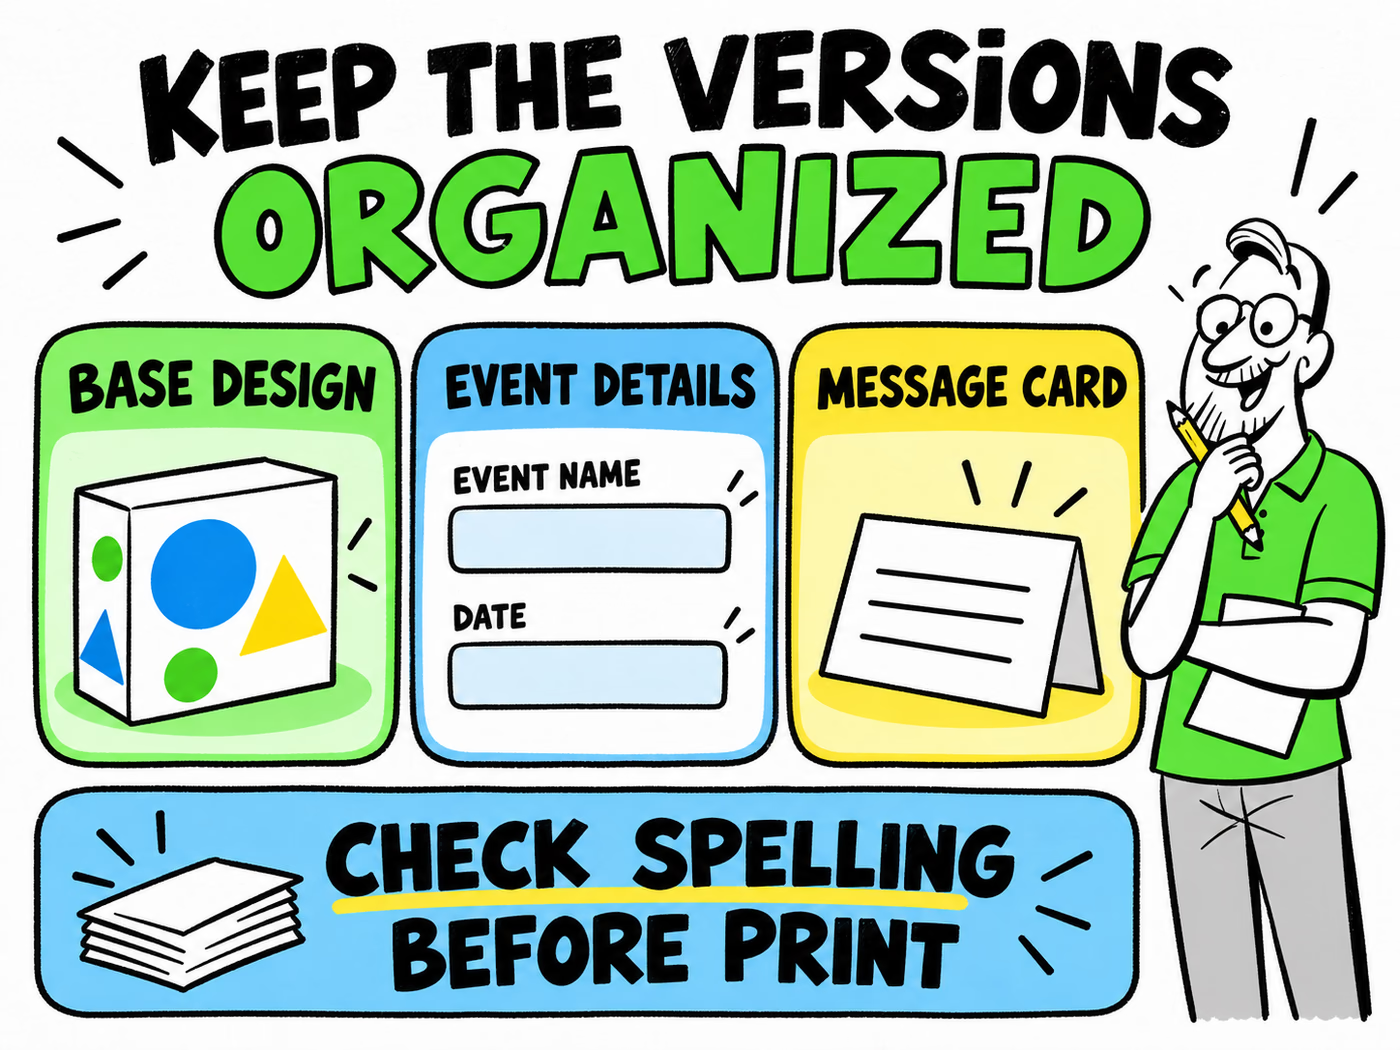
Put the reusable motif in the base design, the agreed event wording in its own artwork layer or file, and the personal message on a clearly identified component. That makes it easier to spot which part changes when one recipient’s note is corrected.
Decide whether the card will be handwritten, supplied separately or produced through a confirmed printing workflow. Discuss variable printing and quantities per design with the supplier before offering an individually printed name on every pack. A design file with several names is not confirmation of a production method.
Choose a reliable matching step
Use an internal order or recipient reference to connect the right card with the right gift. Compare the message and contents before closing the presentation. Keep the recipient record in the appropriate internal workflow rather than printing operational details prominently on the outside.
Read the card at its intended size and leave enough space for the longest approved message. The card artwork guide helps with layout preparation. The infographic separates base design, event details and the message, then places spelling review before print.
Prepare confirmed names, dates, and quantities
Ask the responsible event organizer to approve the final wording, spelling and date in one retained record. Use that record to proofread each artwork version. Check the component count against the gift count so an extra message version does not quietly become an extra assortment.
List quantities by design and format, including any shared pieces. Use the consumption calculator with actual usage and usable stock. Confirm packing dates and required arrival dates with the supplier before making delivery commitments.
Keep the final brief together
Explore product boxes, paper bags and thank-you cards with packed dimensions, intended use, artwork versions, quantities and delivery ZIP. Note which components contain changing details and which are shared.
Follow the artwork guide for the approved structure. Keep the final proof, event approval and packing reference together. If a name or date changes afterward, identify the affected files explicitly so the team does not reuse an earlier version.