
Barcode Placement on Packaging: Keep the Symbol and the Surface in the Same Review
Identify the code and where it will be scanned before reserving space. Review the applicable technical requirements, actual surface and printed symbol together.
Barcode placement on packaging starts with the barcode type, approved identifier and intended scanning environment. Review the applicable symbol requirements before reserving its full space, then examine the actual surface, folds and print process. Verify the printed symbol using the relevant method before approval. A blank area in a concept is a planning placeholder, not a barcode or evidence of compliance.
The right symbol can still be placed on the wrong part of a package. Treat the code, the printed surface and the scanning context as one review rather than adding a barcode to the last empty corner of the design.
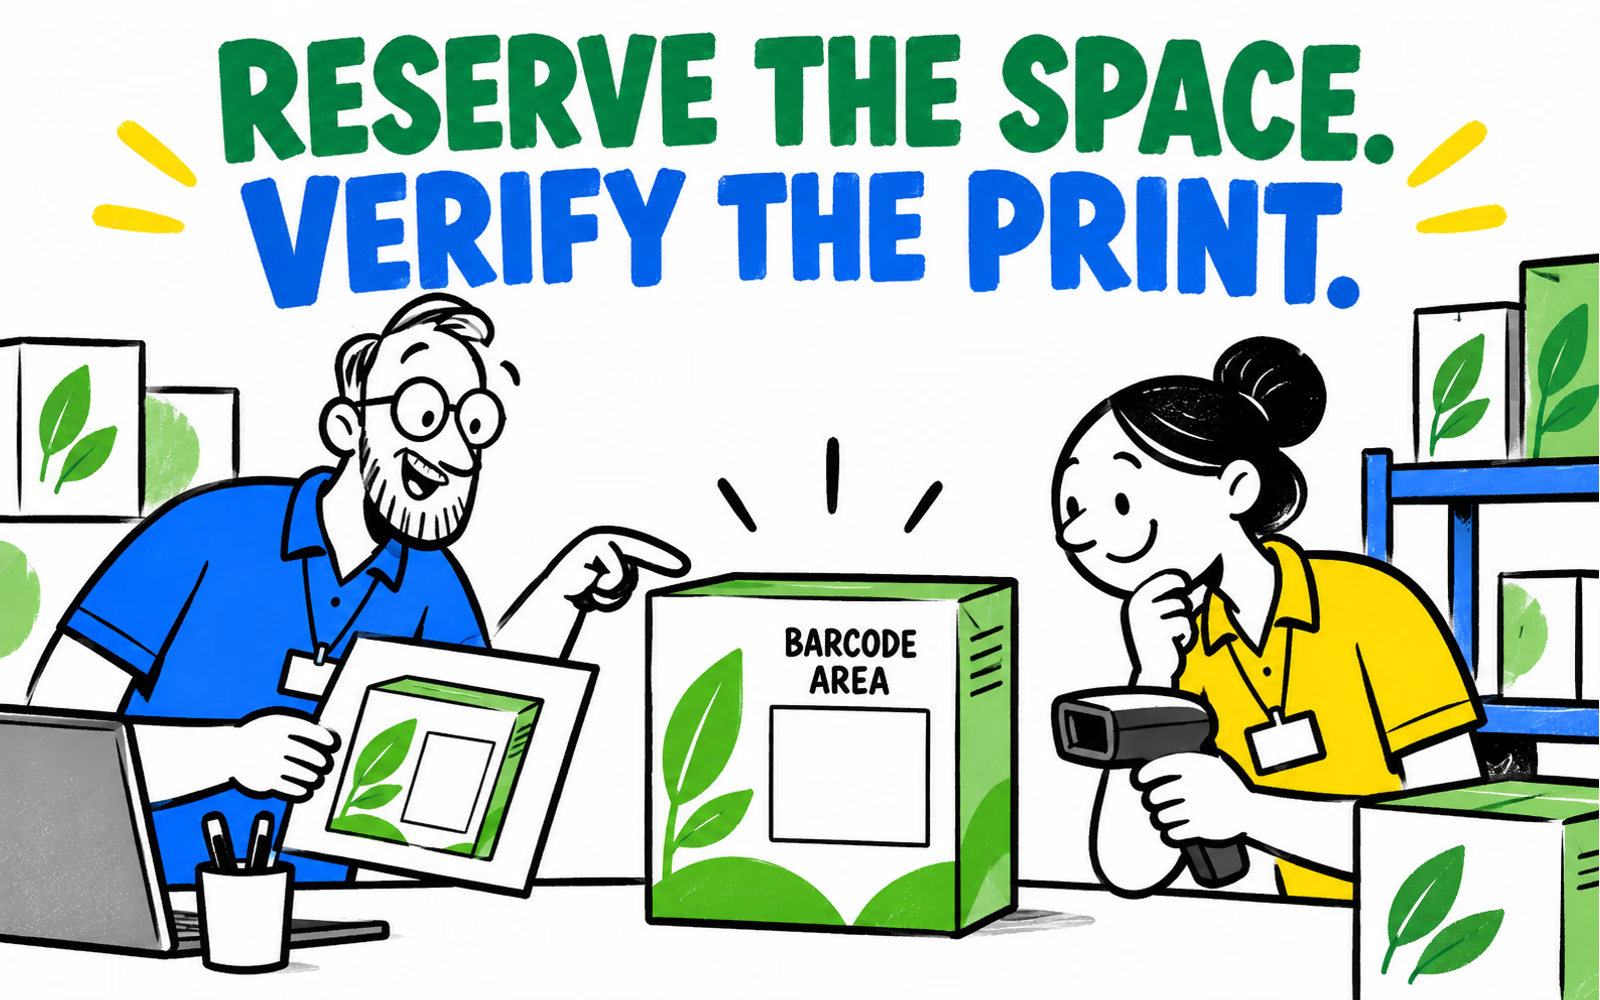
Identify the barcode type and scanning environment
Ask the responsible product owner which identifier and barcode are required, and where the pack will be scanned. A retail unit, a grouped case and an outer delivery parcel may have different information jobs. Keep the actual retailer or receiving requirements with the brief.
Use the approved identifier and a suitable barcode-generation workflow. Do not invent a commercial number or ask an image generator to draw convincing-looking bars. Our illustrations deliberately reserve empty space so they cannot be mistaken for usable symbols.
| Input | Question for the responsible team | Record to retain |
|---|---|---|
| Product level | Which item or grouping is identified? | Actual product and pack reference |
| Scanning context | Where must this code be read? | Confirmed application and buyer requirements |
| Symbol and data | Which approved code and identifier apply? | Authorized source and final data |
| Print construction | What surface and process will carry it? | Material, artwork and production references |
The wholesale hierarchy guide distinguishes individual units, grouped quantities and shipment packaging. Identify the level first so the graphic designer is not asked to resolve a receiving requirement by guessing a location.
Check current symbol and placement requirements
The GS1 General Specifications downloaded for this review is Release 26.0, ratified January 2026. Use the applicable application and symbol specification rather than transferring dimensions or placement rules from another barcode. The retail 2D guideline also explains that size, quiet zones and quality depend on the symbol and scanning application.
Ask the responsible technical team to identify the relevant requirements for the real symbol. Put those requirements into the production brief with their source and version. This article supplies no universal barcode dimensions, margin values or minimum grade.
Reserve the complete requirement
Keep a visibly identified placeholder while the code is being confirmed. Once the real symbol is supplied, compare its complete required area with the available panel before approving surrounding graphics. Do not shrink the code simply to recover space for a larger logo.
If both a product barcode and another code are present, identify the job of each with the responsible team. The QR destination guide addresses customer-facing links; a useful website destination and a retail identification requirement are separate planning questions.
Review surface, folds, and print quality together
Section 6.2.3.3 of the current GS1 standard addresses scanning obstacles. It excludes obstructing or damaging locations, including seams, folds, flaps, overlaps, edges and tight curves, and keeps other graphics out of the symbol’s required space. Consult the full applicable guidance for the actual package.
Examine the assembled pack as well as the flat artwork. Mark the proposed location in the review copy, then look at what happens when the pack is folded, closed and handled. Keep any uncertainty about the usable surface visible rather than relying on the flat panel alone.
Connect the designer and the producer
Give production the actual symbol file and placement proposal together. Ask how the print process, substrate and surface treatment will be represented in the sample to be verified. If a label carries the symbol, include its final applied position in the review.
Our diagram highlights surface, edge and fold questions without numerical values or approval marks. The boundary guide can help read the template, but its content limits do not replace barcode-specific requirements.
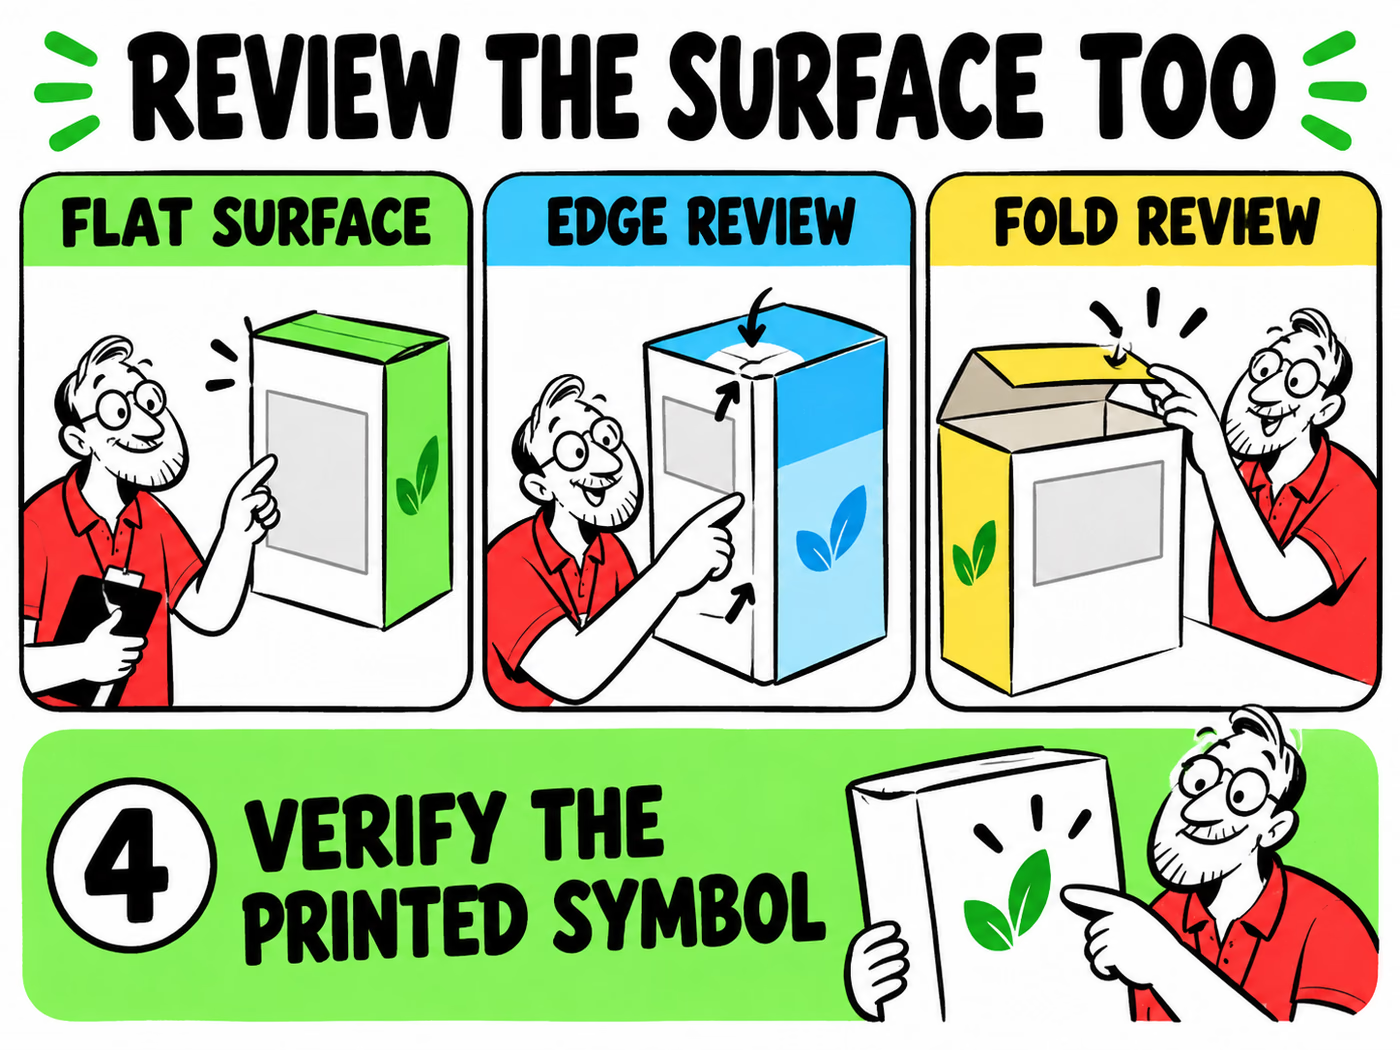
Validate the actual printed barcode before approval
Retain a representative printed and assembled sample, identified by product, artwork and production version. Check that the encoded data corresponds to the approved item. Arrange the applicable barcode verification with the responsible technical provider and retain its report and scope.
A successful scan on one device is an observation, not a substitute for the required verification. Keep data accuracy, symbol print quality and intended receiving use as separate review items so one successful check does not silently approve the others.
Make changes trigger the right review
If the symbol, print process, material, surface treatment or applied position changes, ask which checks need to be repeated. Keep the verification record connected to the actual version examined. Do not reuse an earlier approval for a different arrangement merely because the visible bars look similar.
Explore labels and folding cartons with intended use, finished size, artwork versions, quantities and delivery ZIP. Follow the artwork guide and supply the confirmed technical brief. Packaging production and barcode verification need clear responsibilities; this guide does not certify the finished symbol.